Adding participants
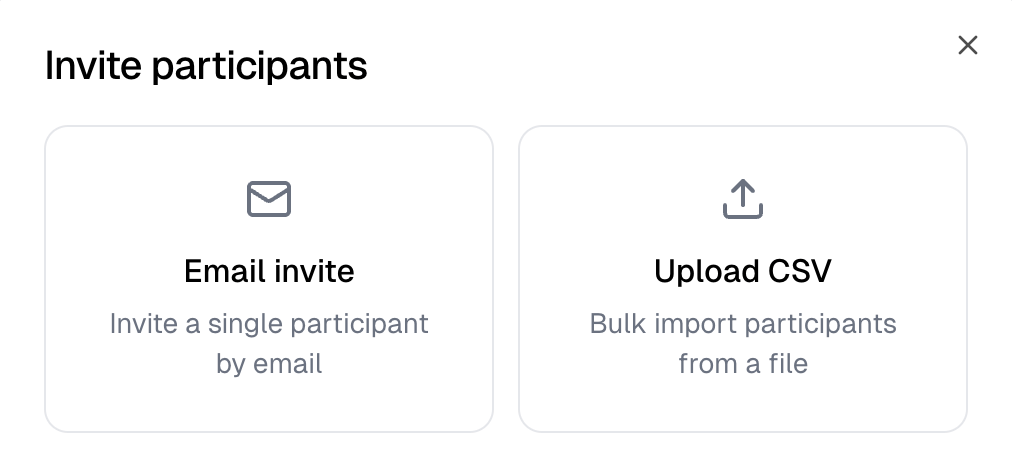
New participant opens a chooser with two tiles. Email invite takes one address, and a starting balance when the store runs points. Upload CSV picks a file and imports it. The CSV needs anemail column. A store running points can carry a second
column, points or amount, and a row without one gets the default balance.
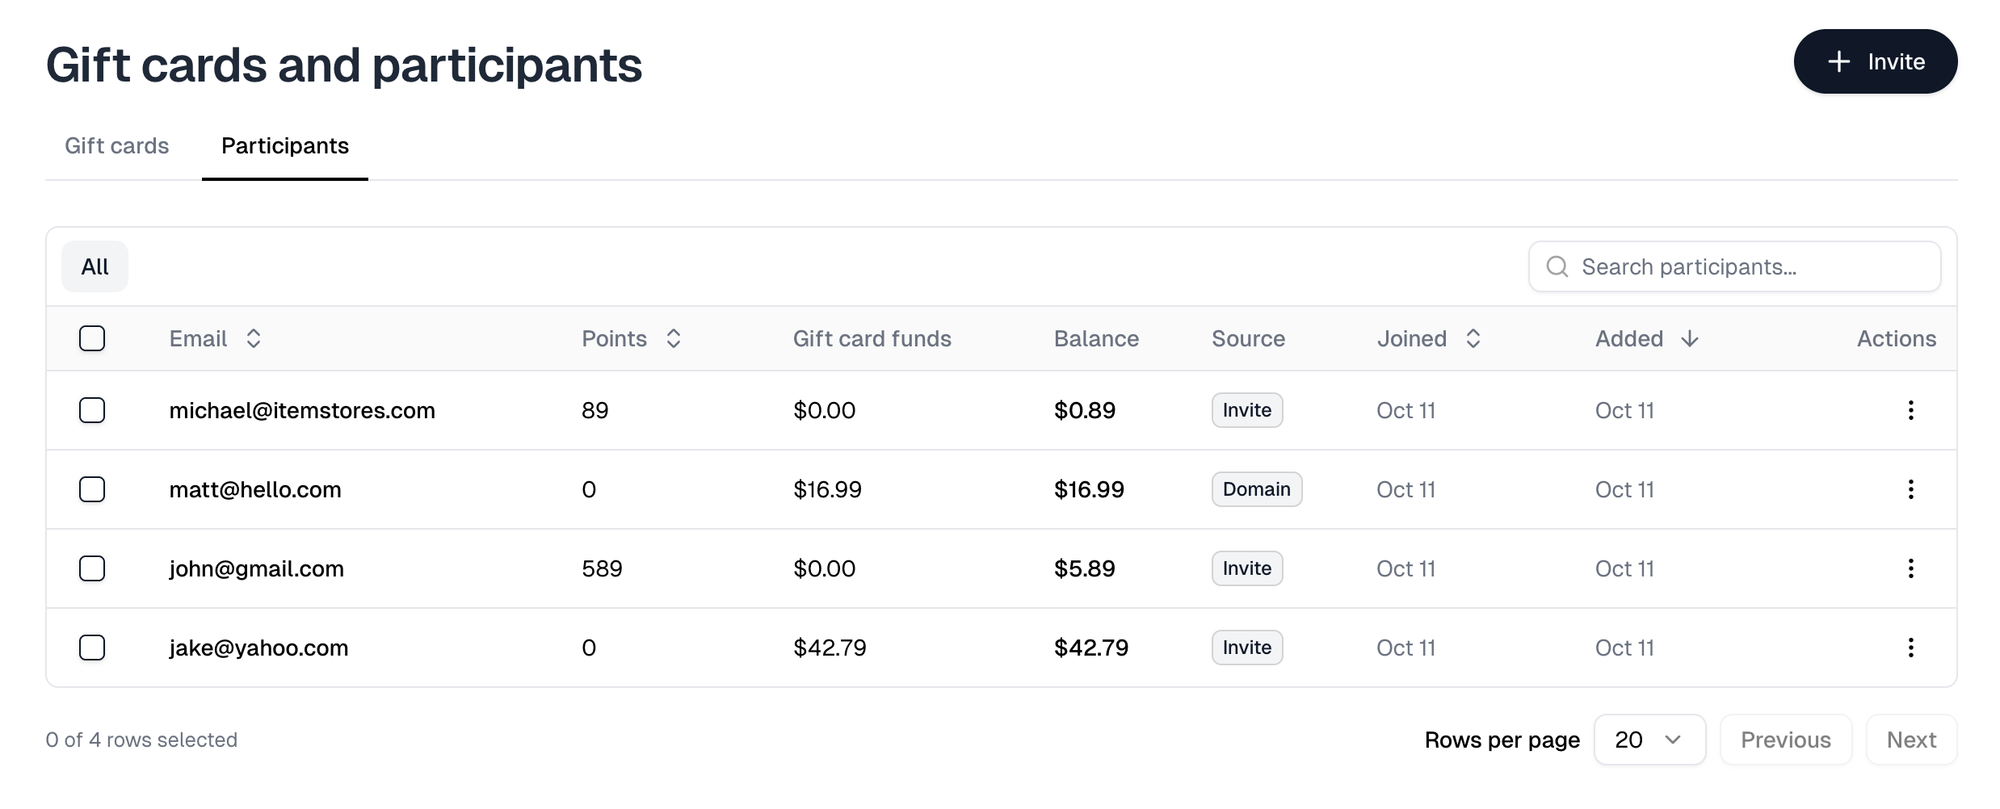
Filter the list by All, Joined or Pending. Each row shows how that
person got in, their balance, and when they joined or were invited.
For setting one up end to end, see
Run a points store.
Codes
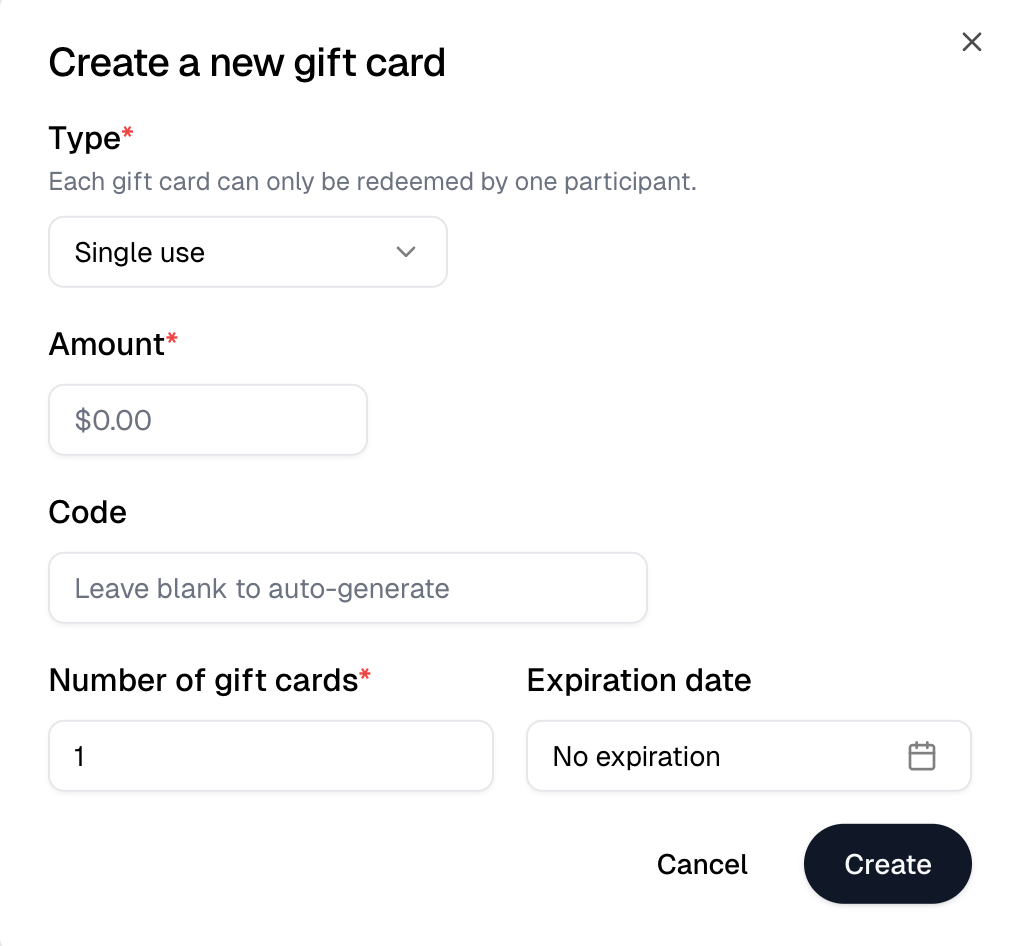
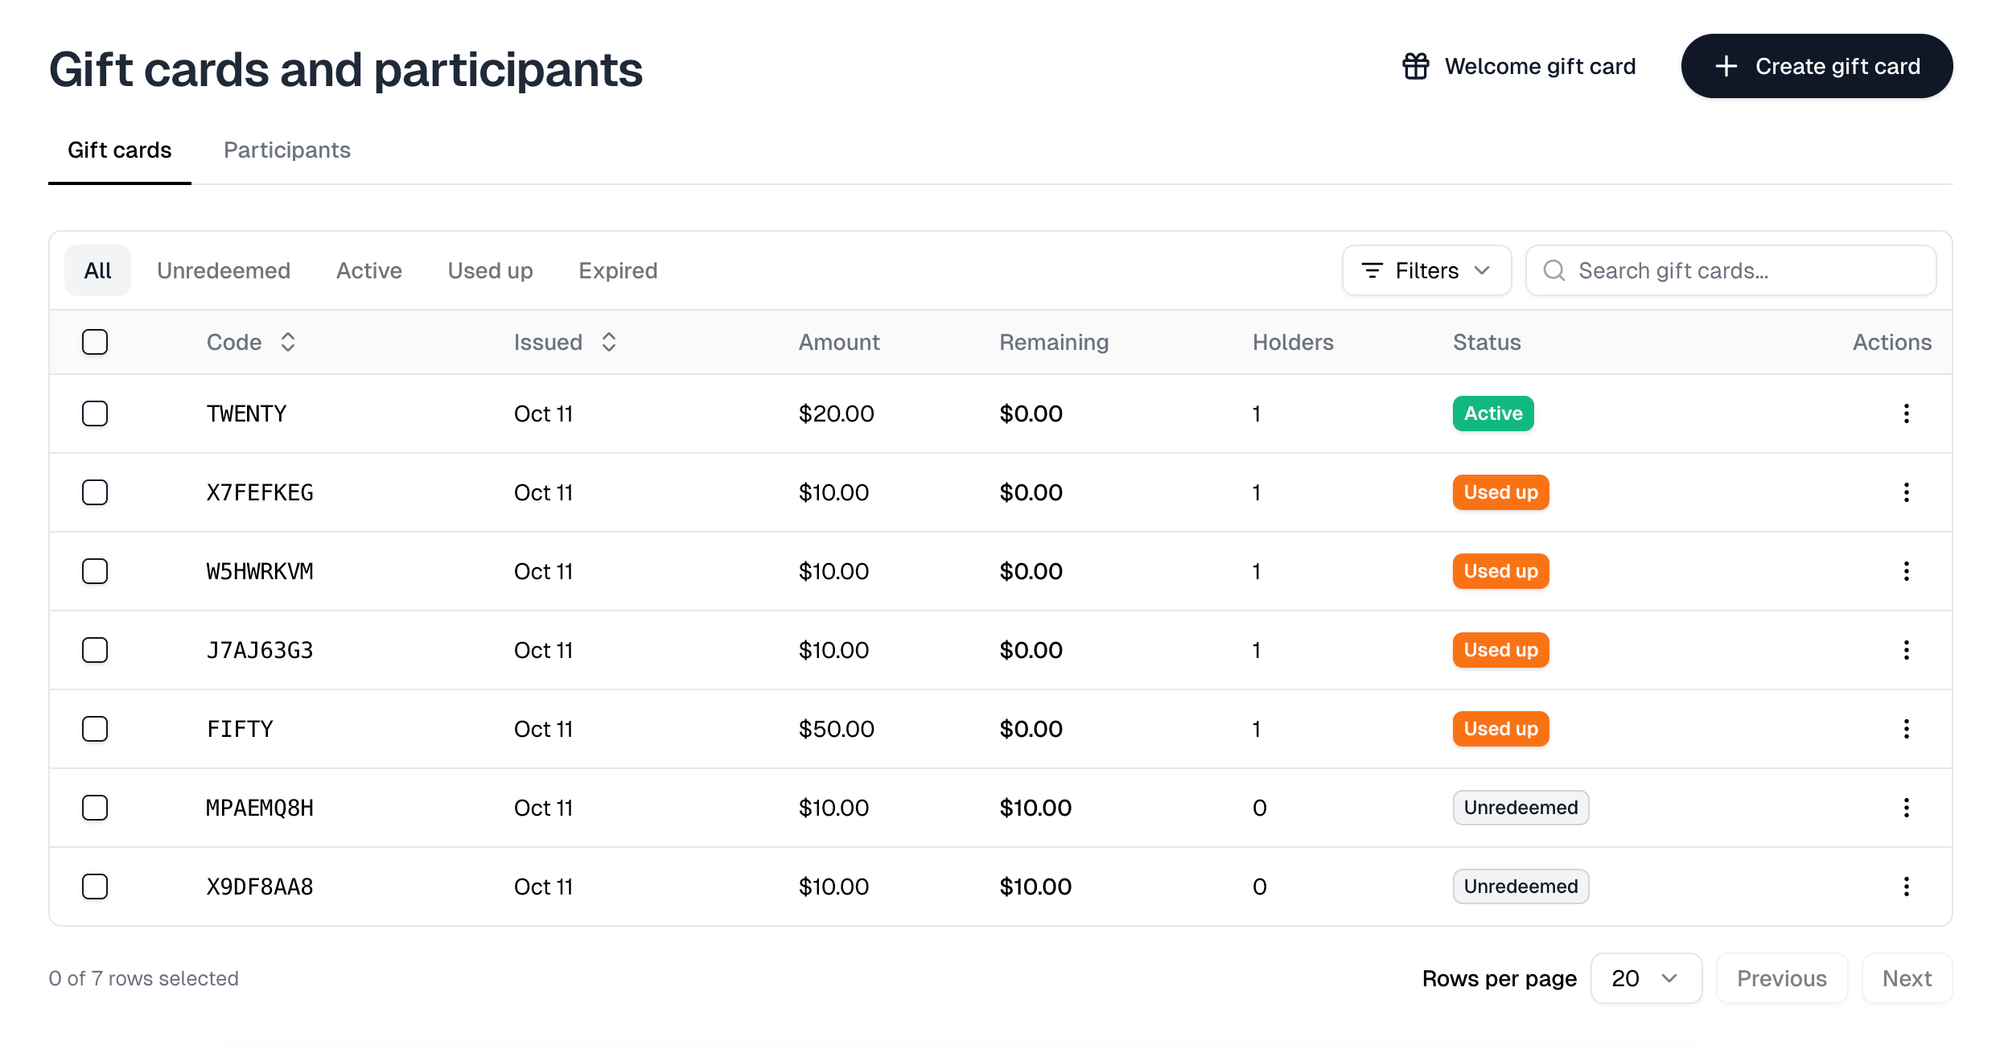
Codes do two jobs at once: they let someone into a gated store, and they carry points. A code works for either on its own, so an open store can still use codes purely to hand out points. New code opens the Create a new code dialog. Code type comes first and decides what the rest of the dialog asks for.
Create makes them. The dialog does not send anything. To hand a code out,
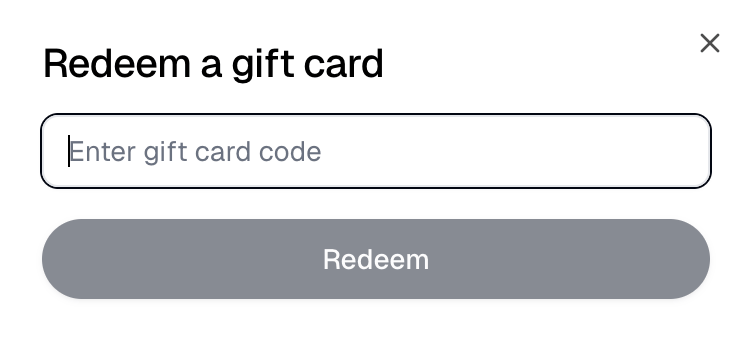
use Share in its row menu, which gives you a link to copy and a Send by
email box that takes several addresses at once.
The Codes tab filters by All, Active, Exhausted and Expired,
so you can see what is still usable. A row’s menu holds Share, Edit and
Delete, and selecting codes reveals a toolbar with Edit, Download CSV
and Delete for several at once.

Points
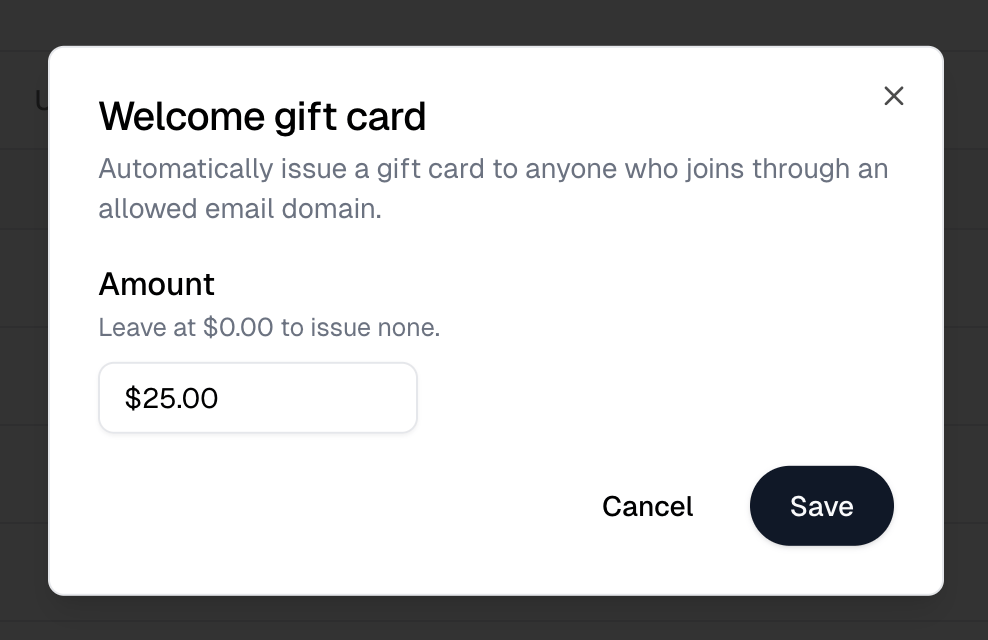
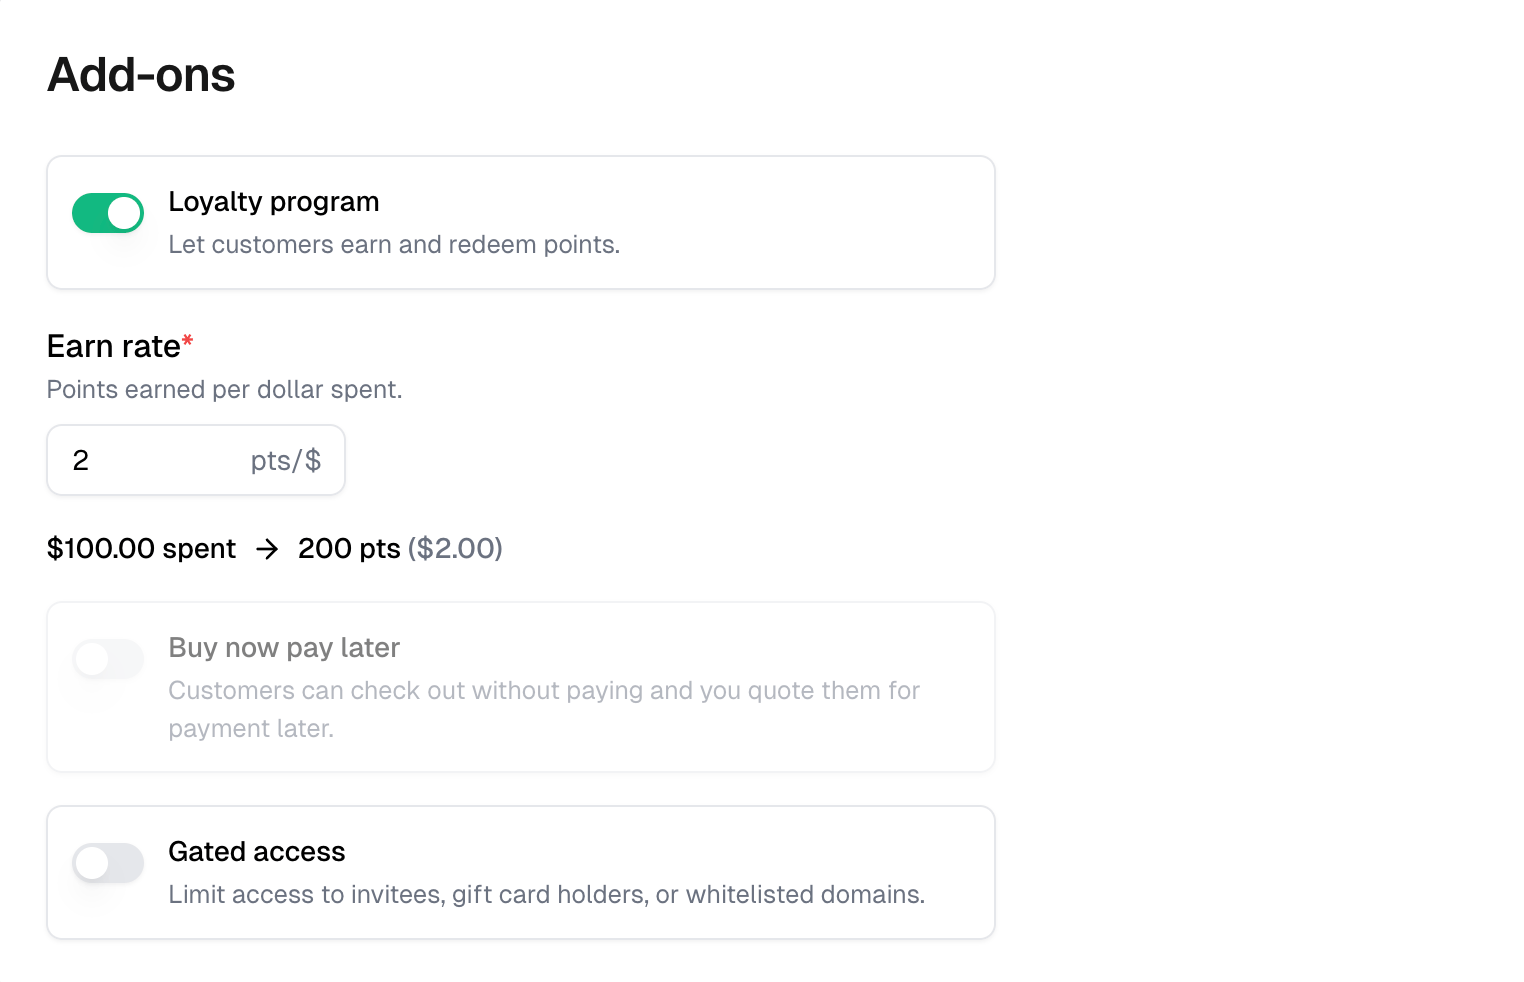
Points system, a switch on the store itself, gives participants a balance to spend in the store. It sits beside the store settings form, the same place as Gated access. The rate is fixed: 1 point is 1 cent, so 100 points is $1.00 and a $20 shirt costs 2,000 points. The converter beside Default balance shows both sides of whatever you type.
To change one person’s balance, use Adjust balance in their row’s menu. That
dialog takes a Reason, which is recorded against the change.
To change several at once, select them, then use Adjust balance in the
toolbar that appears. The bulk dialog asks for an Operation, either
Increase by amount, Decrease by amount or Set new balance, and the
figure. It has no Reason field.
The same toolbar carries Send email, Download CSV and Delete.
Adjust balance appears in both places only when the store runs a point
program.

Gated access
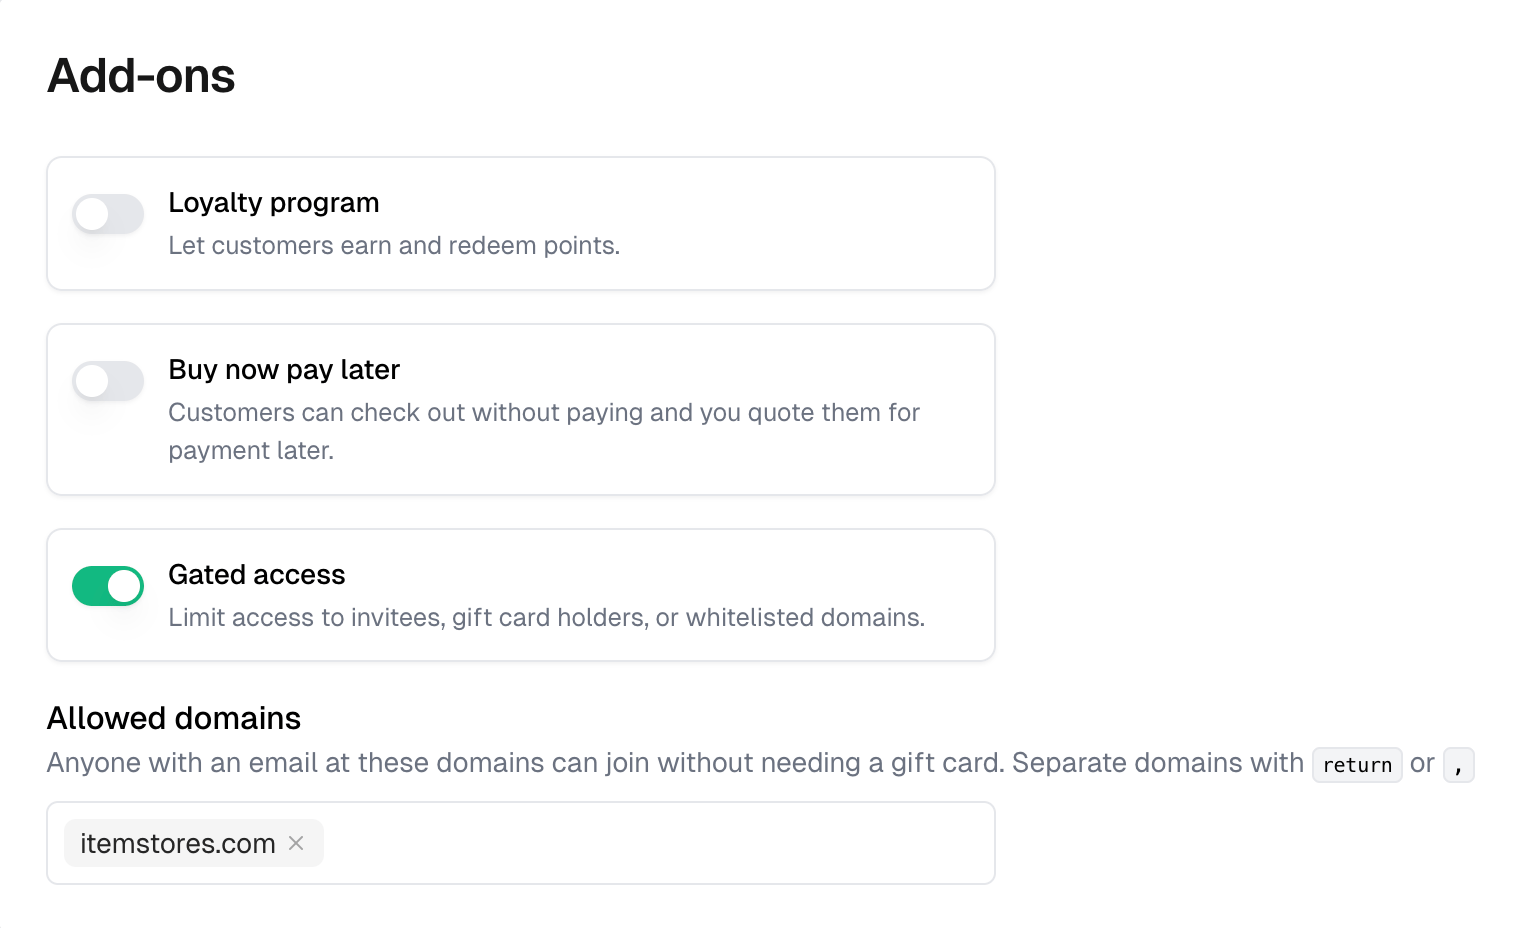
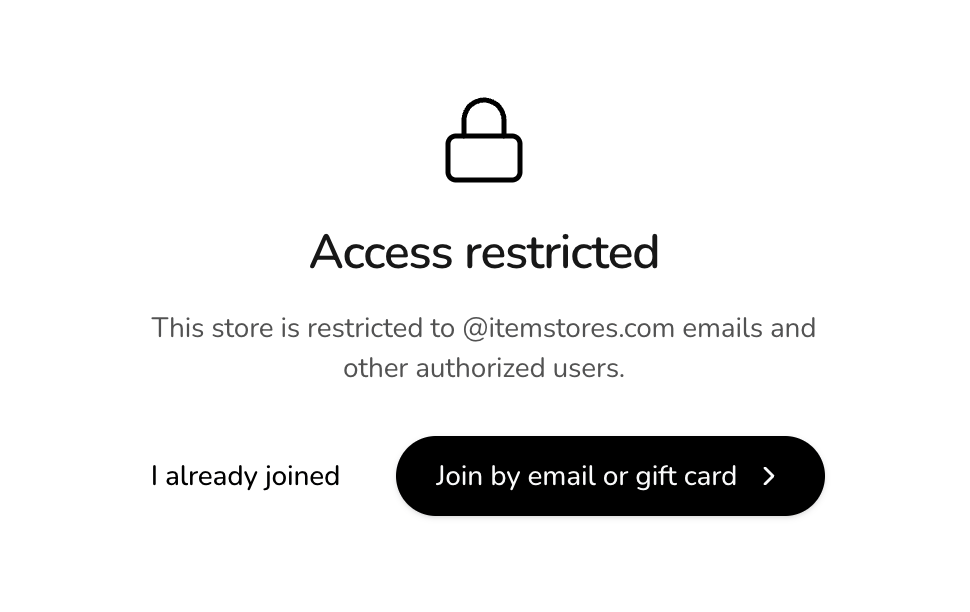
Gated access is a switch on the store itself, set when you create it or in the store’s settings. It is separate from the point program, and a store can use either without the other. A gated store shows Access restricted instead of its products. Everyone who reaches it has to get in one of three ways.
Invites and codes work as soon as the store is gated. The domain allowlist is
the one you turn on, under Enrollment on the Settings tab.
With an allowlist set, the restricted screen names the allowed domain and offers
Join by email or code. Without one, it only asks for a code.
Returning participants use I already joined and receive a sign-in link by
email. There is no password.
Verify identity only pairs with the allowlist. People who join that way
start at 0 points instead of the default balance, which is what you want when
the allowance is handed out by code.
Enrollment settings
Enrollment on the Settings tab is where the domain allowlist lives. Turn on Domain allowlist, then enter one or more Allowed domains, separated by a return or a comma. Verify identity only sits below them, and only when the store also runs a point program. The Settings tab shows only what applies: Pricing and Point rewards for a store with a point program, Enrollment for a gated one. Save changes in the bar at the bottom writes them.