
Building a coupon
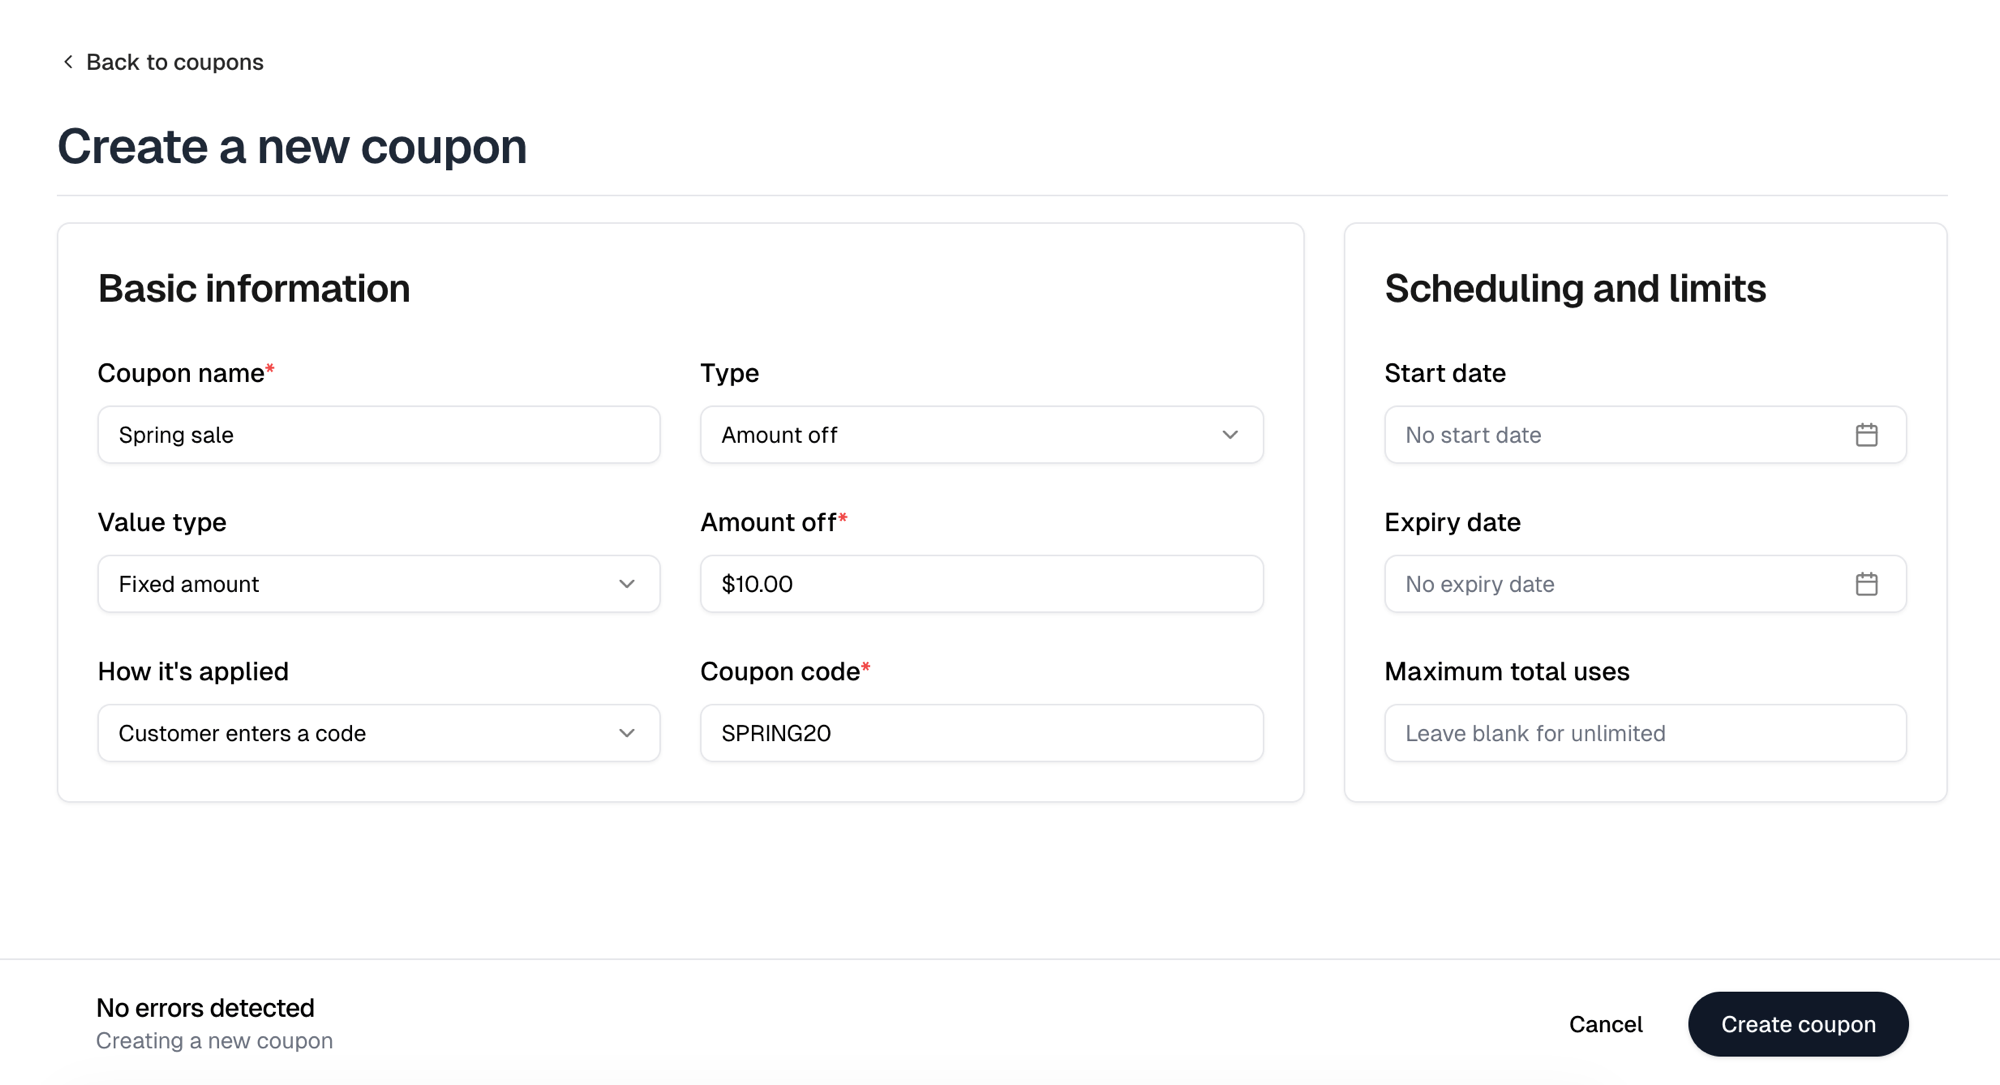
The form asks one question at a time. Each field appears once you have answered the one before it, so most of the form is not on screen when you start. An existing coupon opens with every field already showing. Start with a Coupon name, then a Type.
Amount off then asks for a Value type: Percentage, Fixed amount,
or Per item off. Percentage takes a whole number from 1 to 100 under
Percent off, Fixed amount takes a currency amount under Amount off,
and Per item off takes a currency amount under Amount off per item that
is deducted for every item in the cart, up to the order subtotal.
How customers get it
How it’s applied offers two:
A code coupon needs a Coupon code, such as
SPRING20. Choose
Applies automatically for a sale where you do not want customers hunting for
a code.
Triggers
A Trigger belongs to an automatic coupon, and it is required. There is no automatic coupon that applies to every order, and a code coupon cannot carry one.
Picking one adds the figure it needs, either Minimum cart value or
Minimum item count.
Trigger appears only after you choose Applies automatically, which is why
the form has no sign of it while Customer enters a code is selected.
Only one coupon applies to an order. When more than one automatic coupon
qualifies for a cart, checkout applies the best-value one. Creating a second
automatic coupon on a store asks you to confirm that first.
Limits
Start date and Expiry date are both optional, so a coupon with neither is live until you remove it. Maximum total uses caps redemptions across all customers; leave it blank for unlimited.Advertising a new coupon
If the store’s website header has no banner yet, creating a coupon offers to add one promoting it. Add banner writes the banner, Not now leaves the header alone. A header that already has a banner is never overwritten, and is not asked about.The coupons list
The list opens on Active and Inactive holds the rest. Each row shows the coupon’s code or its automatic trigger, its value, a status badge, and how many times it has been used against its cap. The chevron at the start of a row expands it into the redemptions: date, order, customer, amount saved, order total, and payment status.
A row’s menu offers Edit, Deactivate or Activate, and Delete.
Selecting rows reveals Activate, Deactivate and Delete for several at
once.