
item.store/your-website.
Settings
New store creates one, and the same form edits it afterwards from the store’s settings. It is grouped into Basic information, Shipping, Customer support, Add-ons and Advanced, with an All tab showing everything at once. Beside the form, on a wide screen, sit the store’s banner image, internal notes with a contact, and the assignees. Add-ons holds Loyalty program, Buy now pay later and Gated access. A store runs the loyalty program or pay later, not both, so turning one on greys out the other. With Buy now pay later on, Billing contact sets who receives payment requests, empty to bill whoever checks out, and Payment terms sets the due date on each quote. See Set up a buy now pay later store. For the loyalty program and gated access, see Gift cards and participants.A business on a Starter license can create 5 stores per calendar month. Until
Stripe is connected, a business can create 1 store in total. Either limit
disables Create store.
Basic information
Name and website, both required, then start date and deadline. The control to the left of the website field chooses the address format:item.store/your-store, or your-store.item.store with a Full license. Format
and key are both locked once the store exists.
On a Full or Enterprise license, Configure custom domain in the field’s
description serves the store at a domain you’ve added in
Domains instead. Picking one replaces the
address format control with the domain’s name; choosing Use an item.store
link instead reverts to it. You can pick a domain that hasn’t finished
connecting yet, it goes live once it does.
Categories appears only when you edit an existing store, so a new store gets
its categories after it is created. Top-level categories display as tabs in the
store’s header, and Manage categories is where you edit them.
Shipping
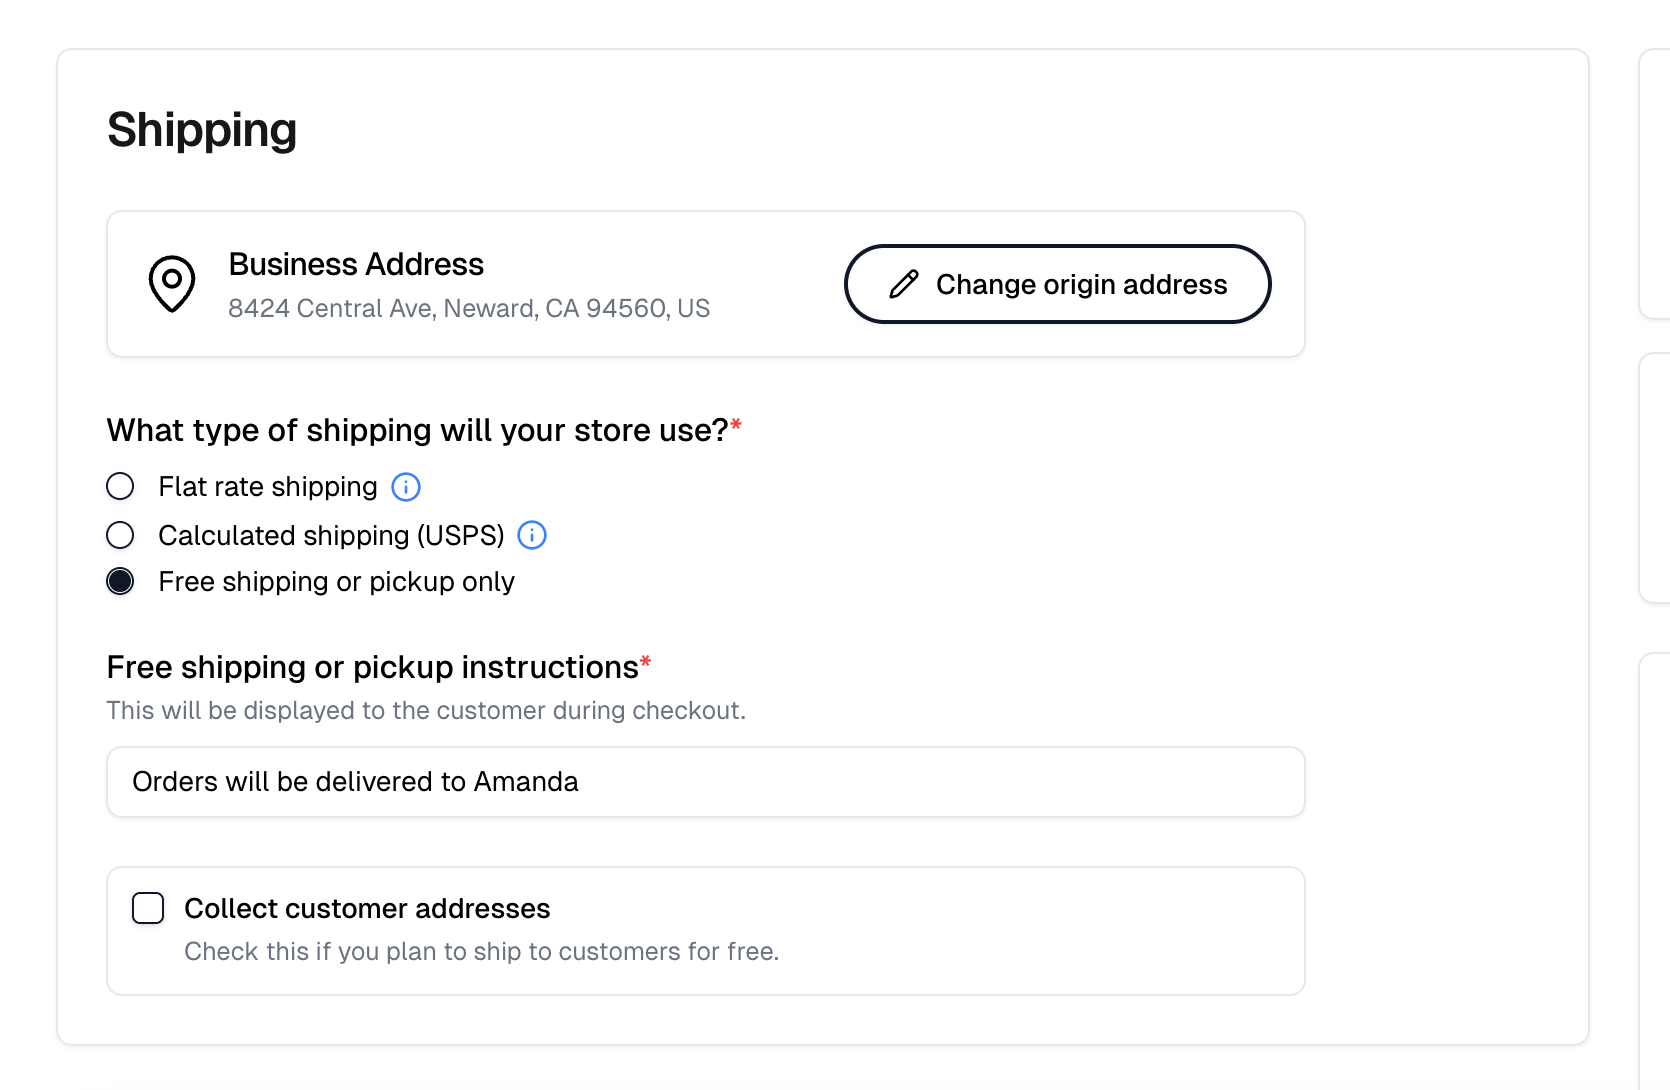
The section opens with the origin address, which is required and is where rates are quoted from. The button beside it reads Select origin address until one is set, then Change origin address. What type of shipping will your store use? offers three choices.
Calculated shipping adds Shipping services, where you pick which services
customers choose between at checkout, the default package those rates are quoted
for, and Configure maximum weight per shipment. At least one service and a
package are required to save. Handling fee sits here too, and only here. It
is included in the shipping price, so customers never see it as a separate
charge.
Free shipping or pickup can run alongside the other two options. Under flat rate
or calculated shipping, Enable free shipping or pickup adds it. Selecting
Free shipping or pickup only turns it on and hides the button.
Once it is on, Free shipping or pickup instructions is required and appears
to customers at checkout. This is where you explain in-store pickup. Collect
customer addresses starts off. Check it if you plan to ship for free rather
than hand items over. A store with Fulfill Engine products has it checked and
locked.
Customer support
Support email, phone, and website. These appear to customers on the storefront.Advanced
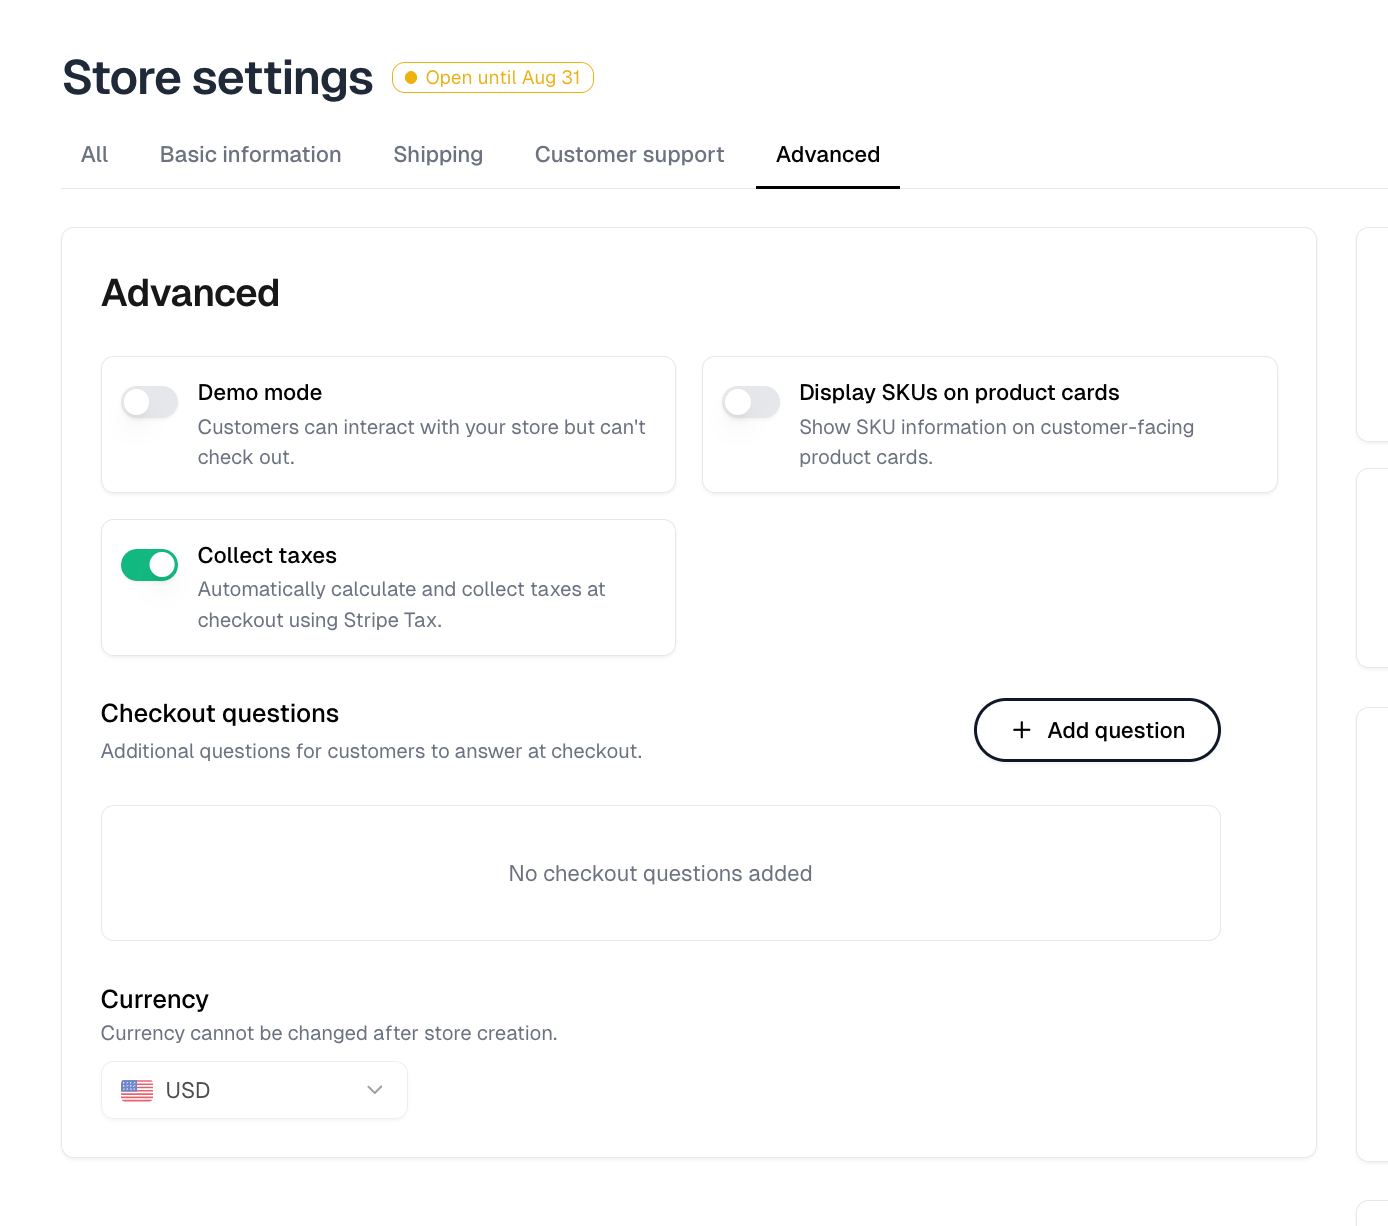
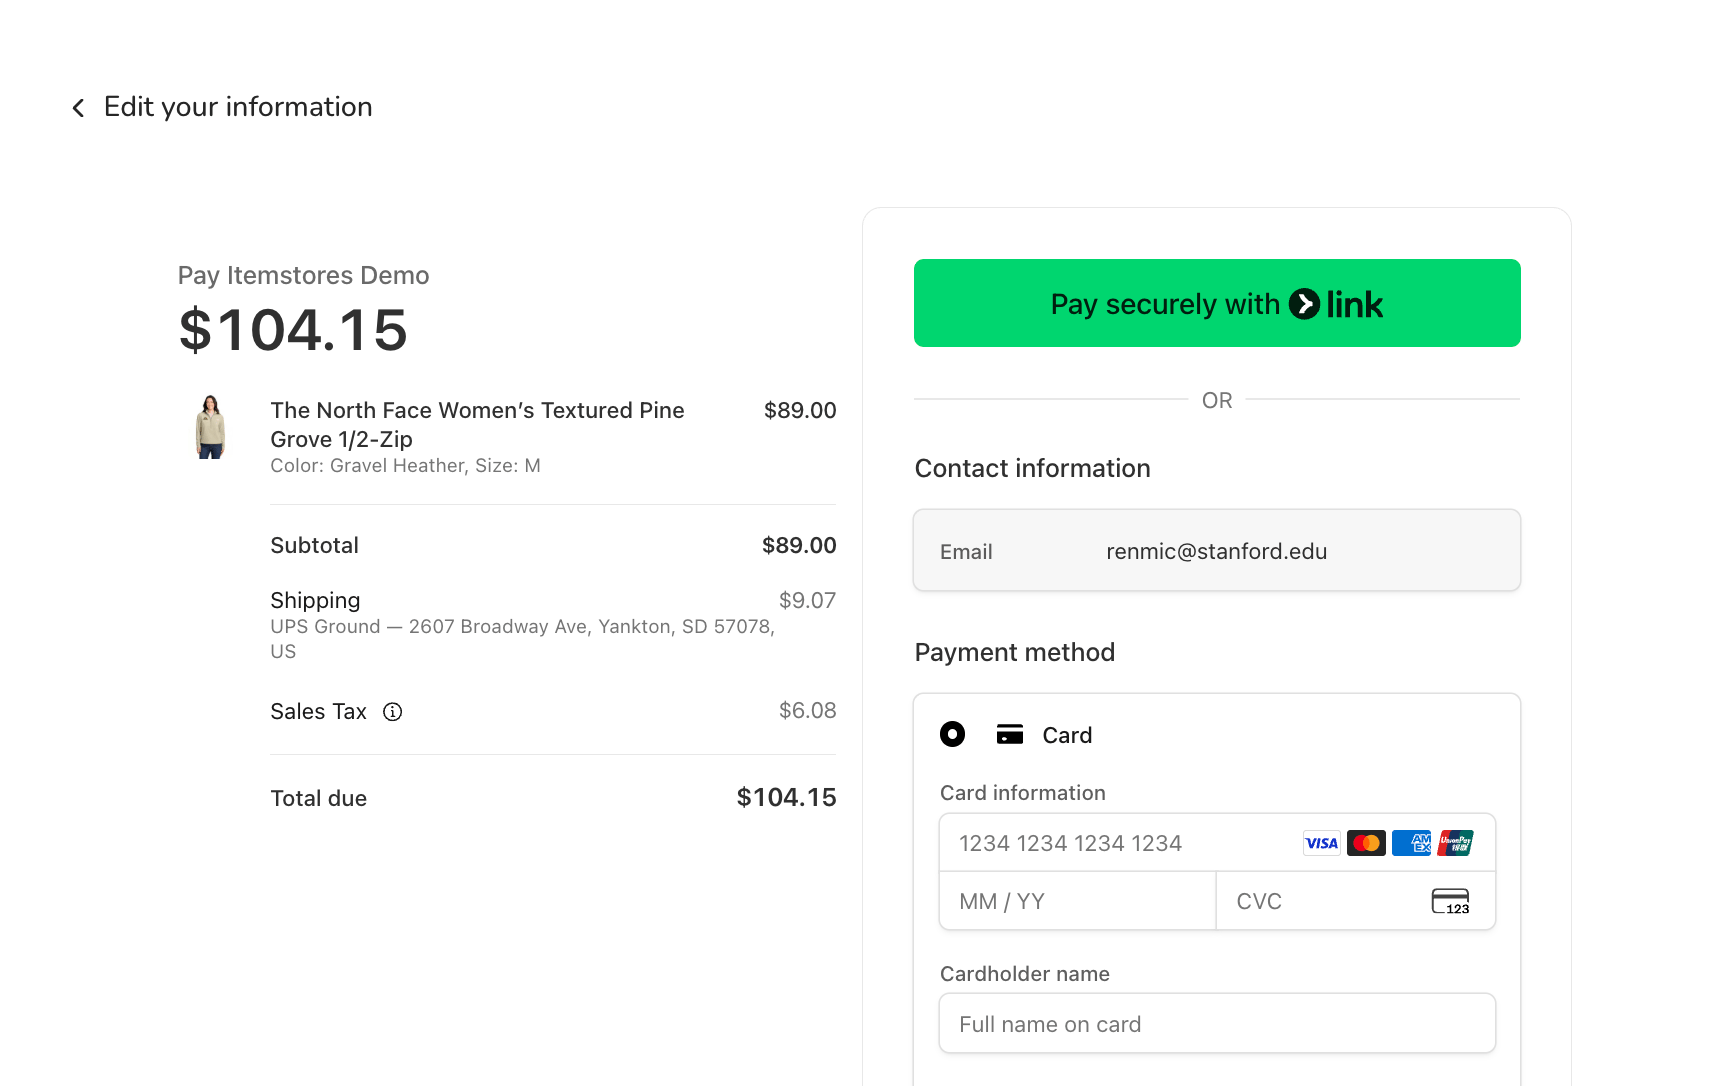
To stop charging tax on a store, for example for a school or church, turn off
Collect taxes.
Store status
A store’s badge is calculated from its start date, deadline, and timezone. An archive wins over everything, and an override wins over the dates.
Override forces a store open or closed regardless of its dates.
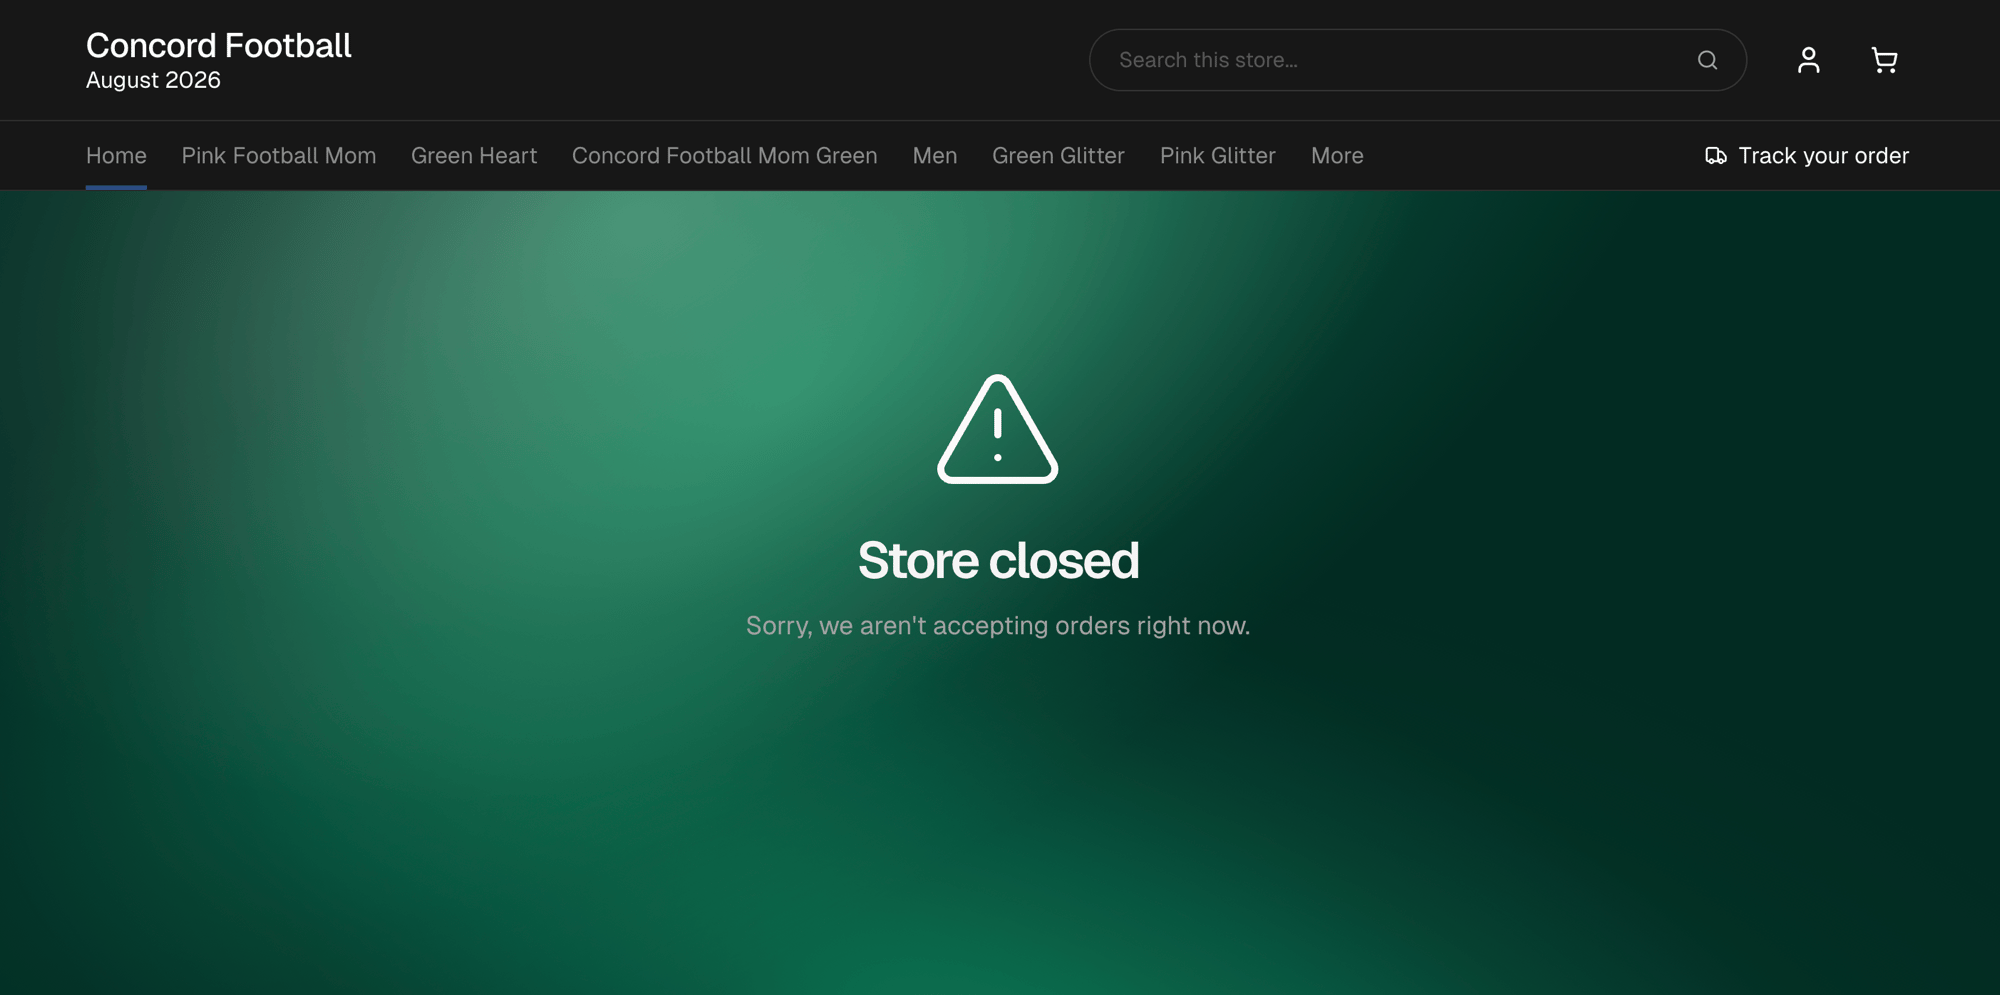
A closed store still loads, with its header and categories, but shows
Store closed in place of products.
The stores list
Stores lists every store in your business. Each card carries the store’s status badge, its incomplete and total order counts, and its revenue. Down the left, Sort by and Filter narrow the list, and View archived stores shows the ones you archived. A toggle above them swaps the cards for a table. Override, Download CSV and Actions sit above the list and stay disabled until you select stores with the checkbox on each card. Actions holds Assign, Archive and Delete, applied to everything selected.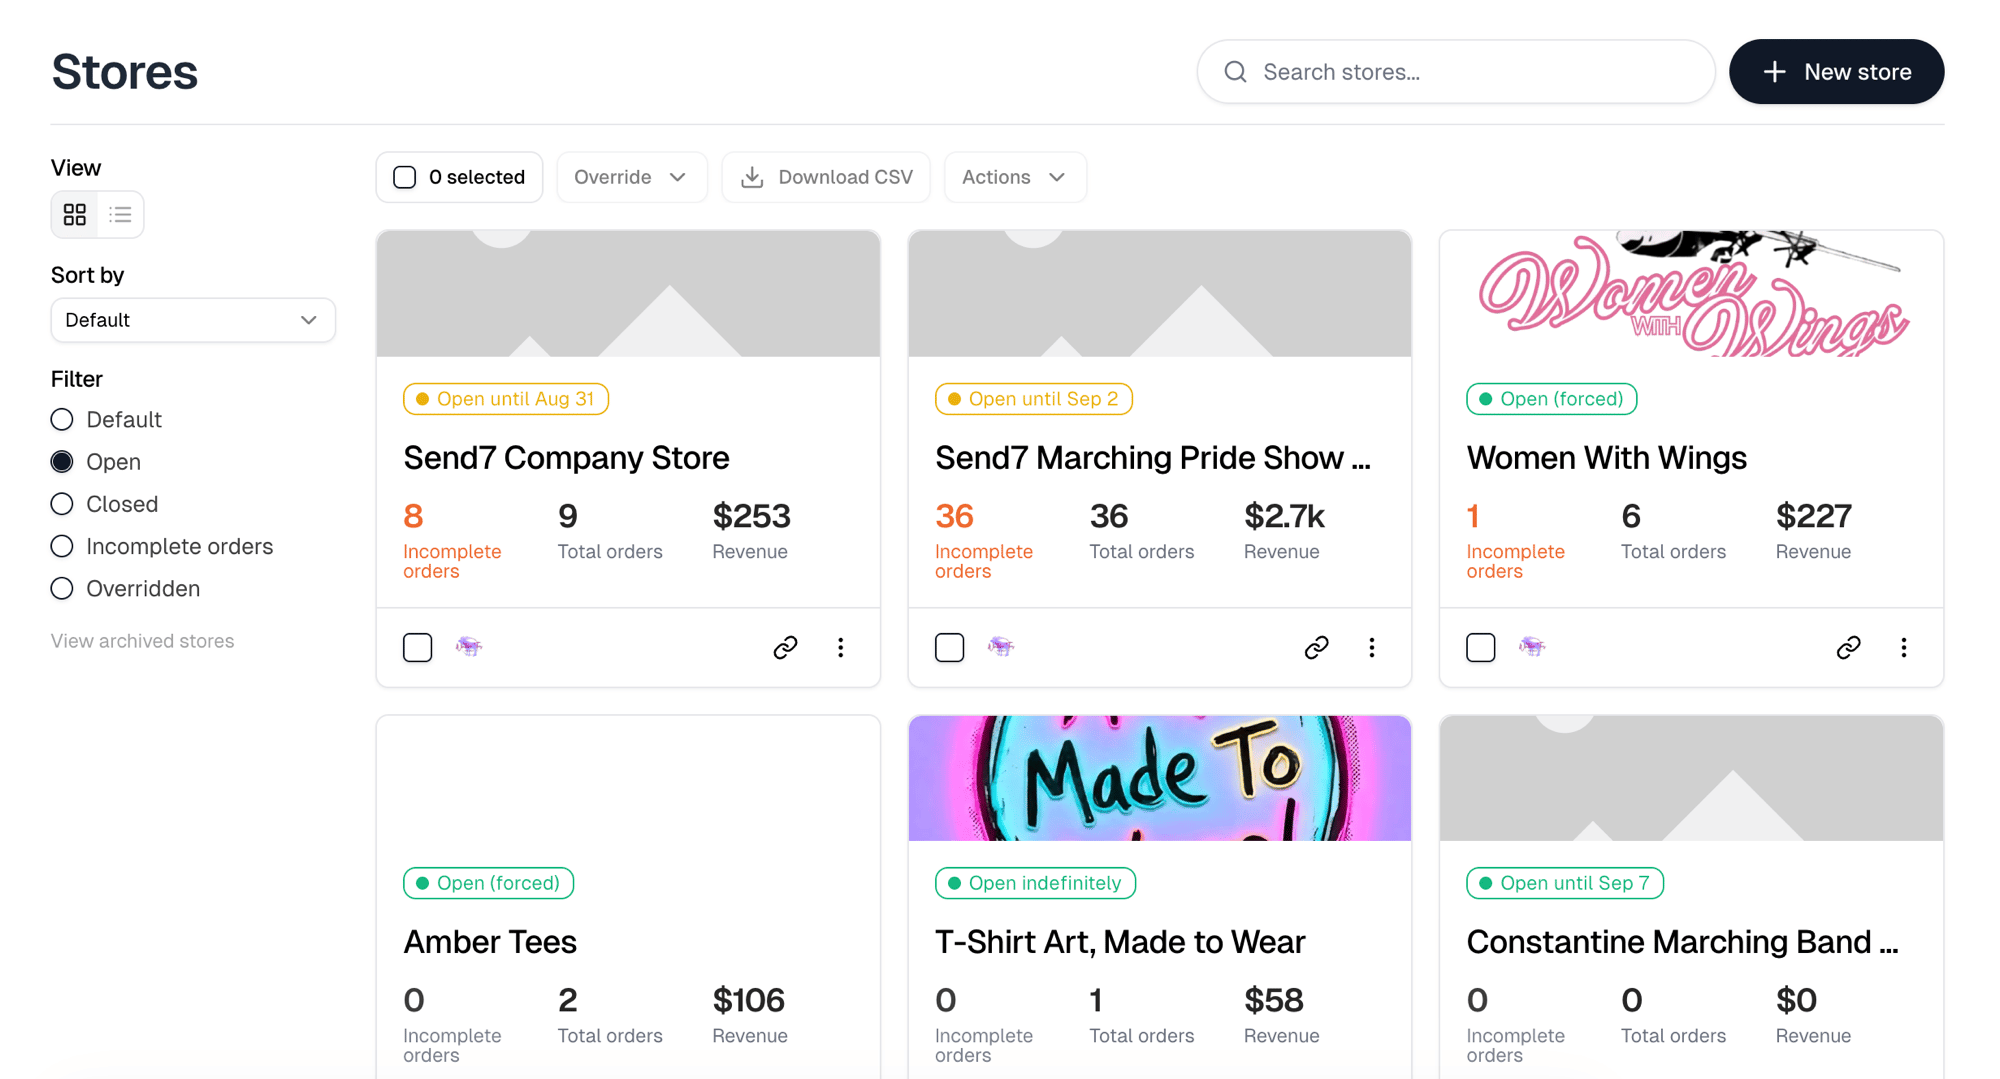
A store that appears on any order cannot be deleted at all. The dialog says so
and points you to archiving instead.
The link icon on each card copies the public store URL. Its tooltip reads
Copy store link.