
What a point is worth
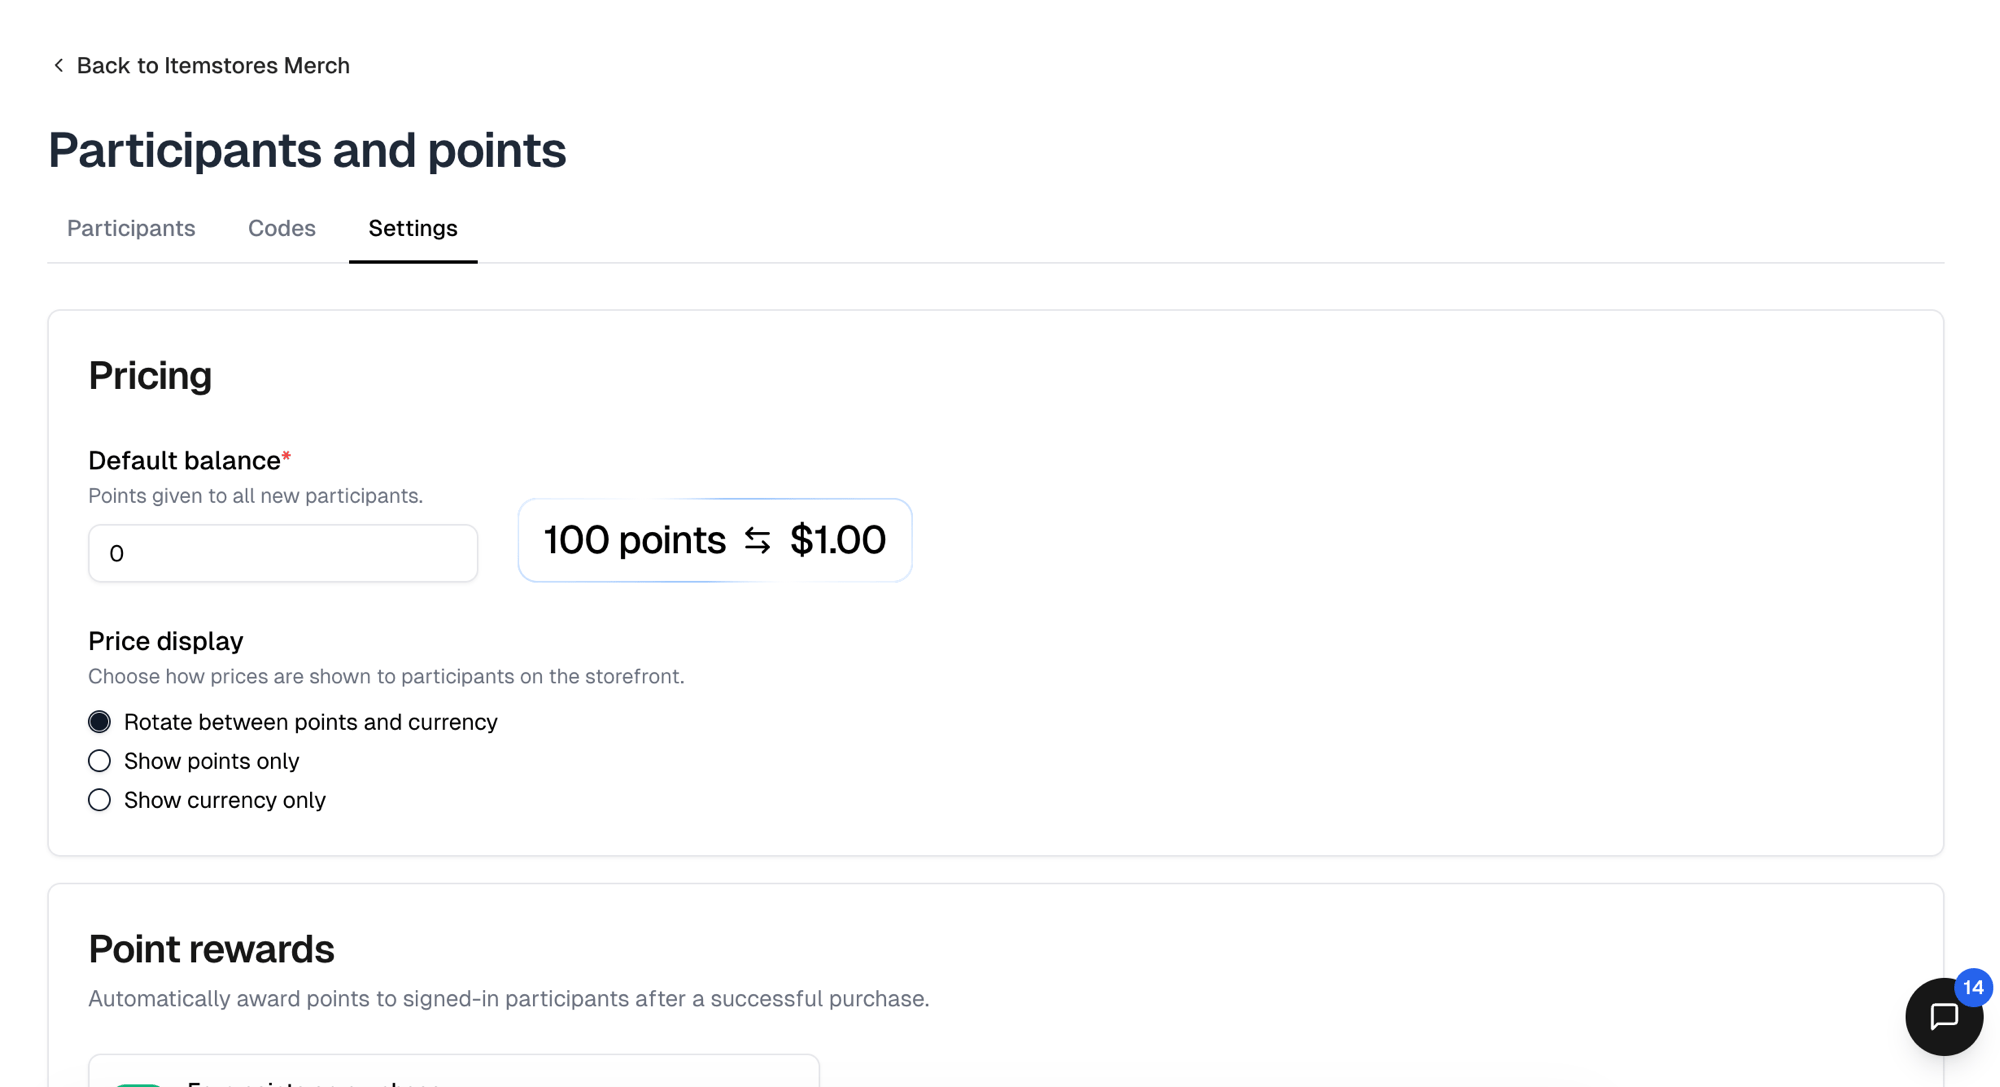
A point is one cent, and the rate is fixed. There is nothing to set, so a $20 shirt always costs 2,000 points. Every balance in the app is listed in currency rather than points. The rest of the program lives in the store’s Participants and points, on the Settings tab. The strip beside Default balance there converts that balance into currency; it is not a rate you can change.Choose how prices look
Show points only suits a store where the allowance is the whole point and
money would only confuse people.
Hand out the allowance
Codes
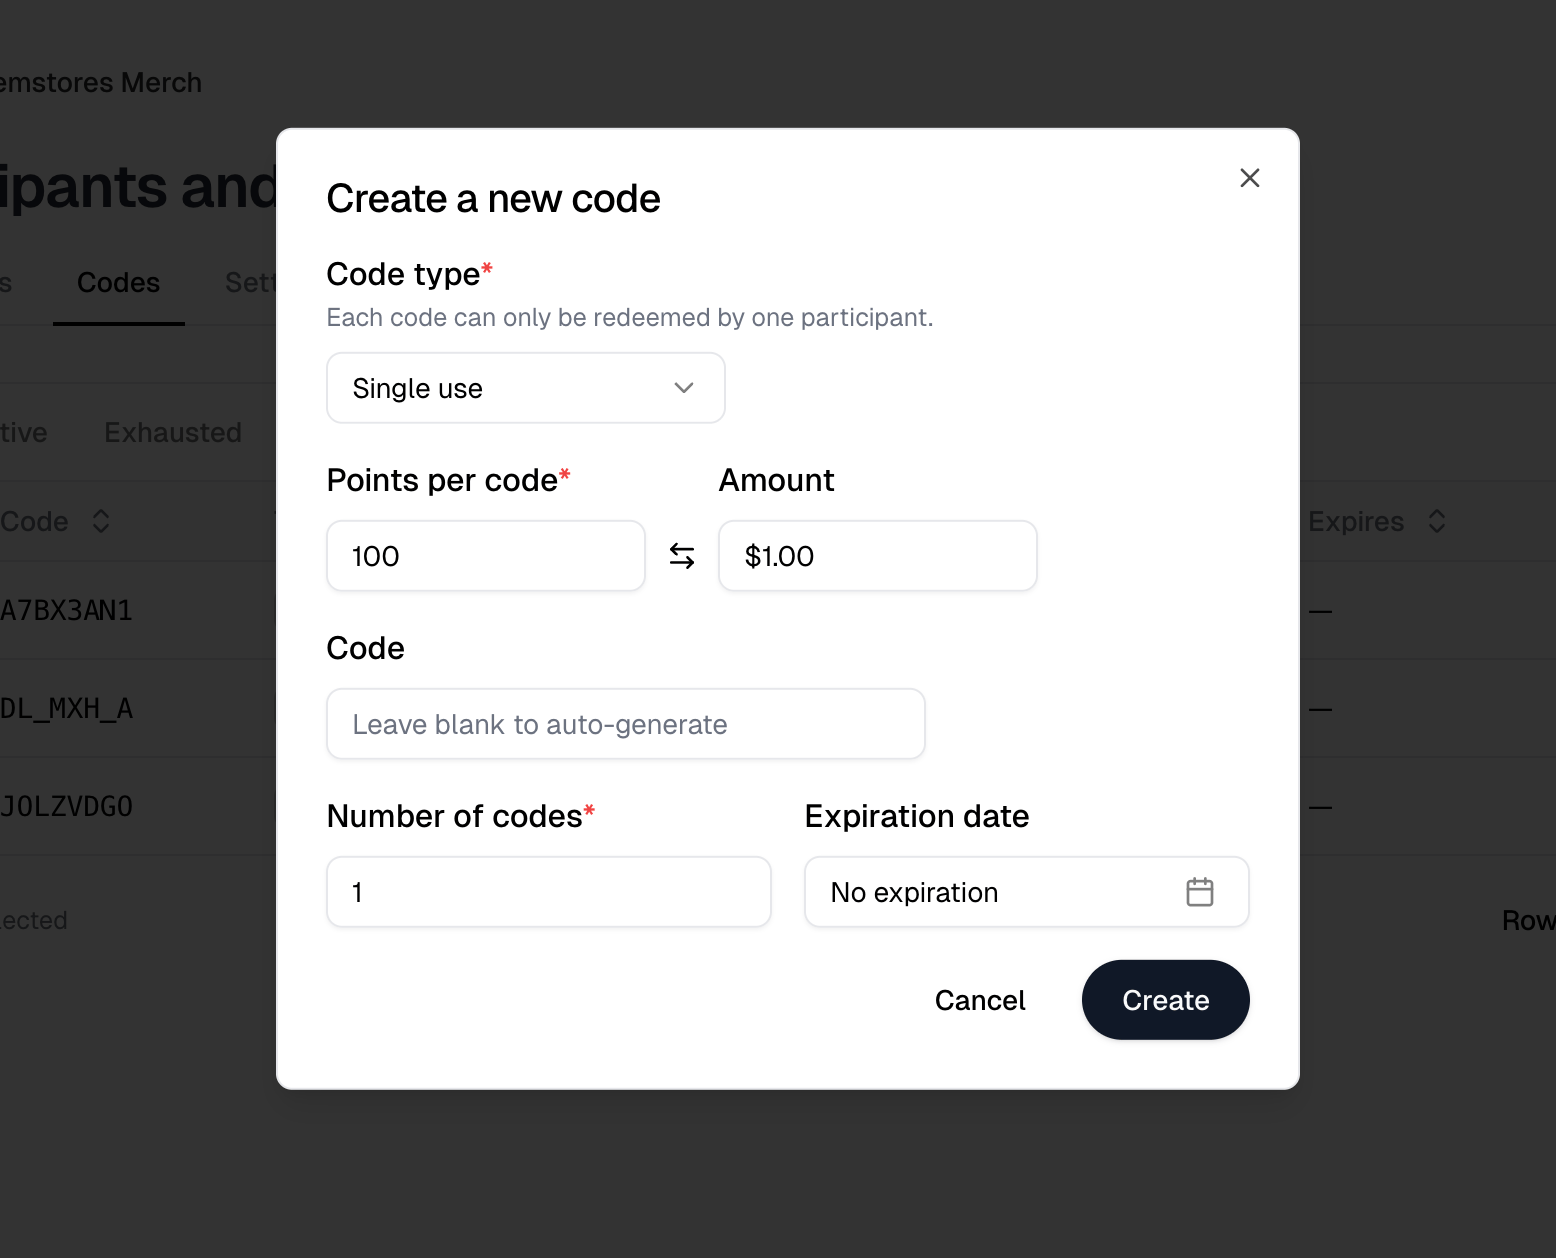
The usual way. Each code carries points, and you hand them out however you like. New code on the Codes tab opens Create a new code. Set Points per code, which shows its currency equivalent beside it, and an optional Expiration date. Code type decides the shape of the handout:
Single use is the usual choice, and generating a batch is also how you give
different people different amounts.
The Code field, where you type your own code instead of taking a generated
one, is only on screen while Number of codes is 1. Ask for a batch and it
disappears.
Default balance
Default balance gives every new participant the same amount automatically.Invites
New participant on the Participants tab offers Email invite for one person, with a starting Balance prefilled from the default, and Upload CSV for a list. The CSV takes one email per row plus an optional points column, which overrides the default balance for that row.Adjusting someone later
Selecting rows on the Participants tab reveals a toolbar with Adjust balance, Send email, Download CSV and Delete. There is no standing button for any of them. Adjust balance there asks for an Operation, one of Increase by amount, Decrease by amount or Set new balance, and applies it to everyone selected. To record why, use Adjust balance in a single participant’s row menu instead. That one sets an absolute Balance and carries a Reason field. The toolbar version has no Reason.Earning points back
Participants do not earn points by spending unless you say so. Earn points on purchase is off by default, so a store only ever hands out what you allocate until you turn it on. Turning it on reveals Earn rate, in points per cent, which starts at 0. Left at 0 nothing is ever earned. An earn rate of 0.01 is 1 point per $1.00 spent.Keeping track
The Participants tab lists everyone with their Balance in currency, a Source badge for how they joined, the date they Joined, and the date they were Invited. Someone who has not accepted yet has no join date. Filter with All, Joined and Pending.Restricting who can get in
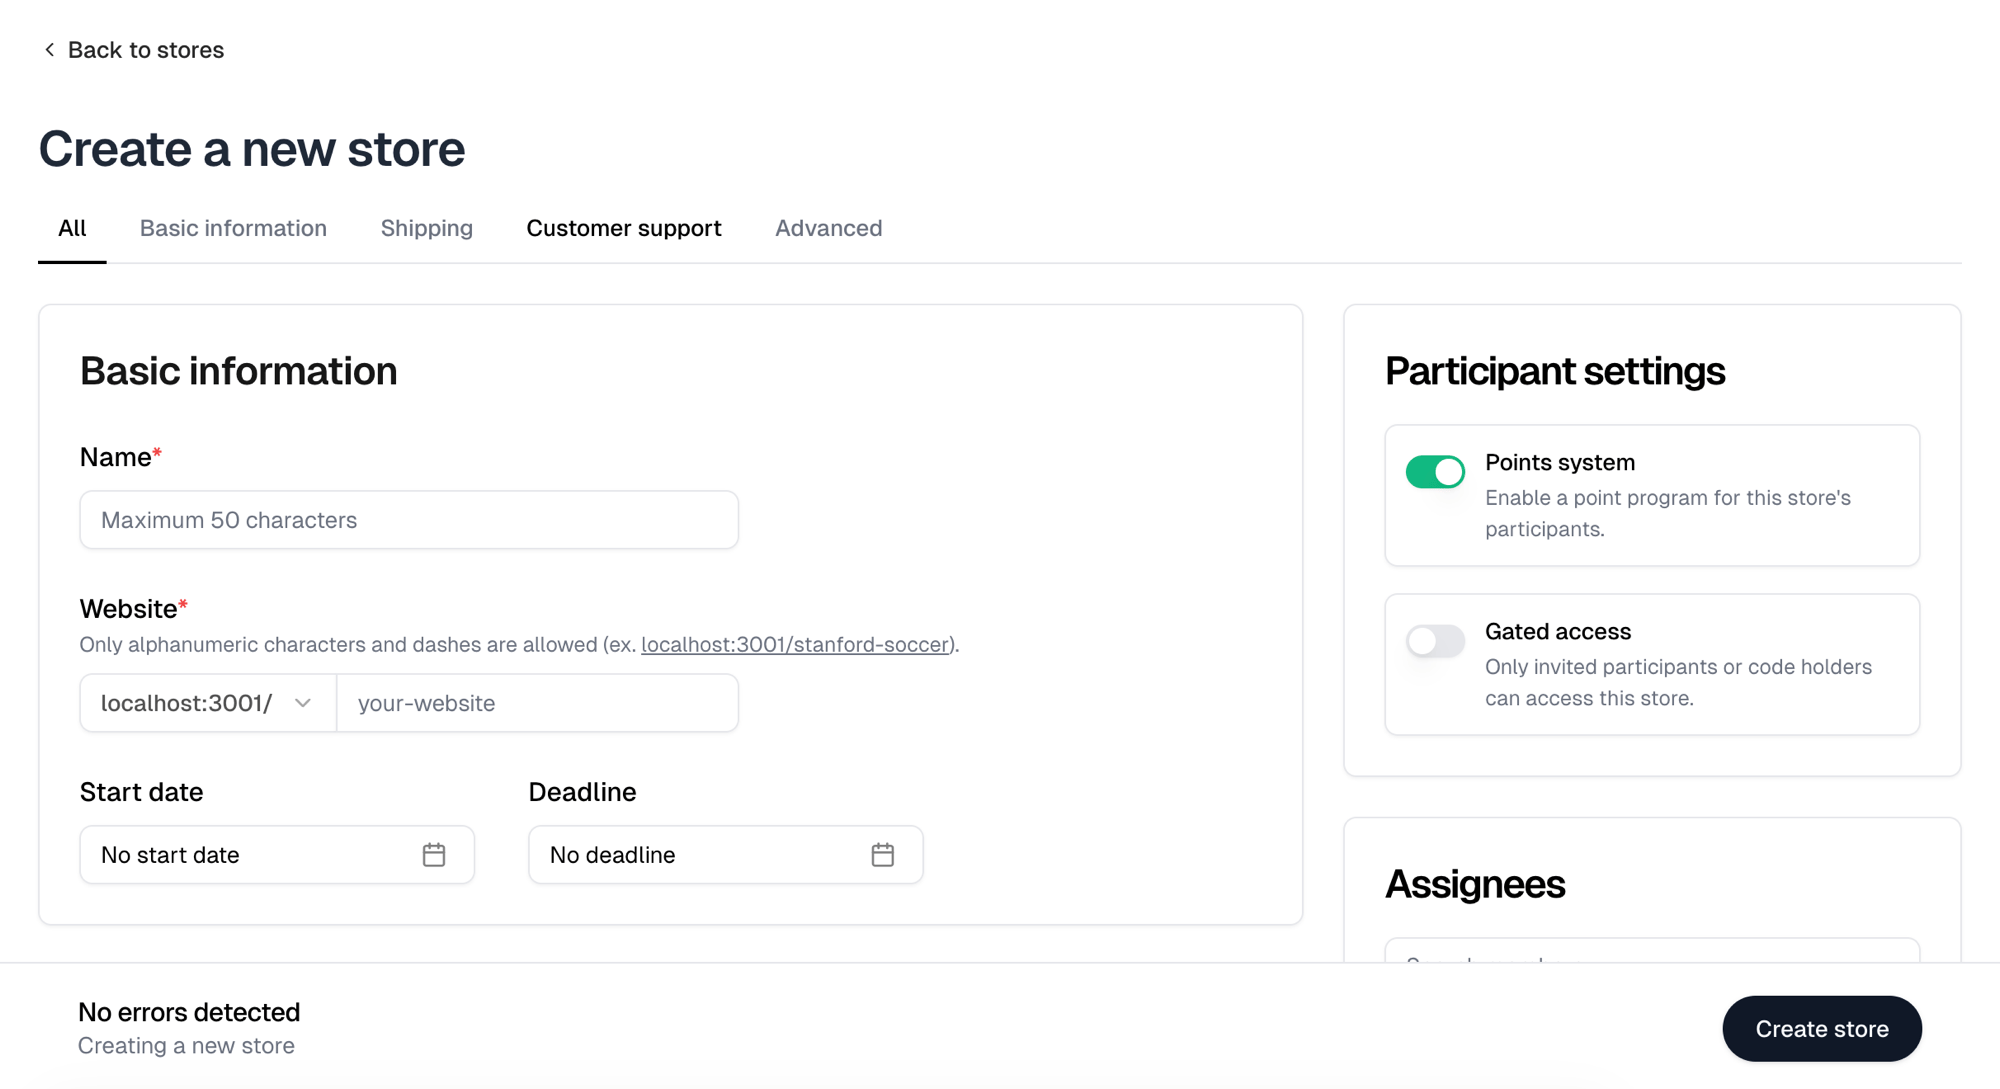
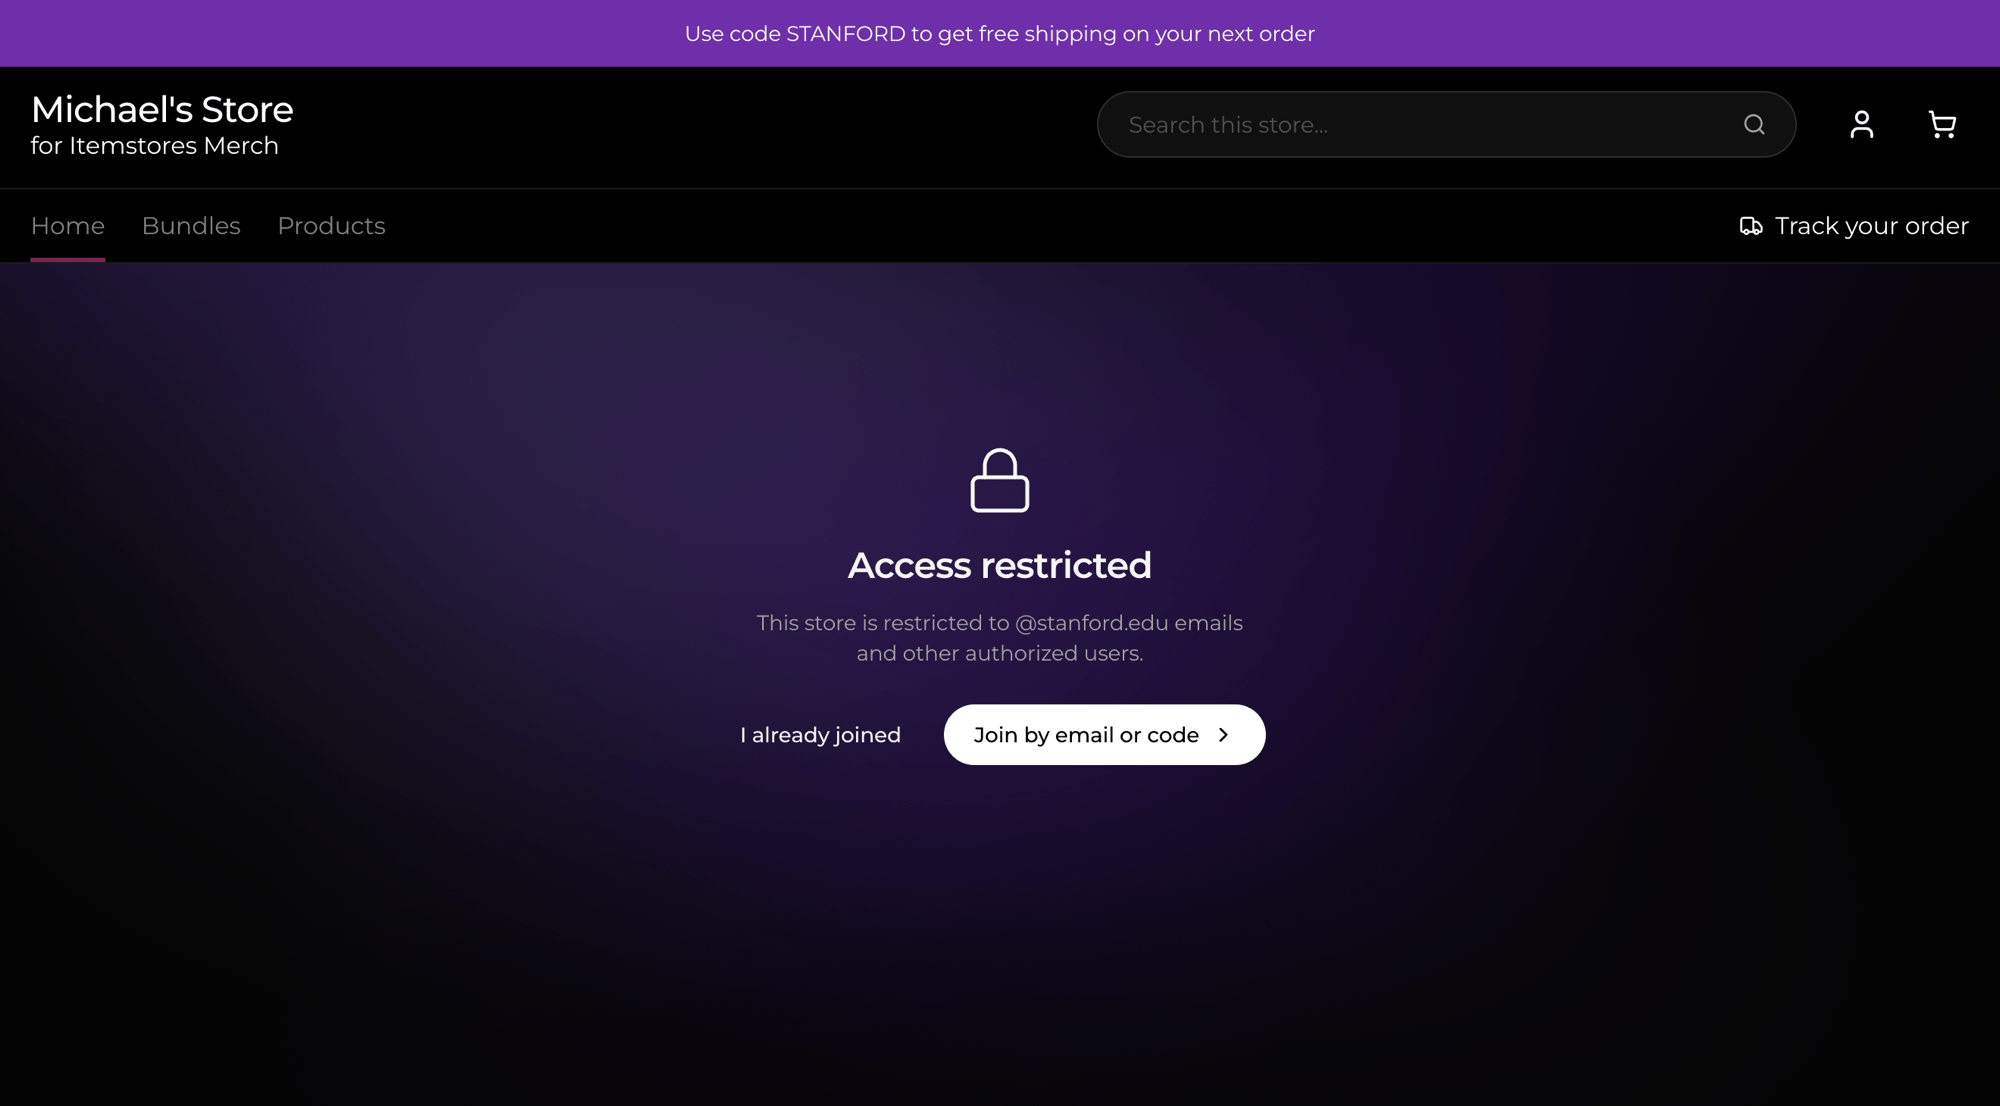
Most points stores do not need this. Points are usually controlled by who receives a code, and the store itself can stay open. Turn on Gated access when the store should not be publicly reachable at all, such as a staff store you do not want customers finding. A gated store shows Access restricted instead of products, and people get in one of three ways:
The domain allowlist suits a company or school store, where inviting people one
at a time would be tedious. The restricted screen then names the allowed domain.
Verify identity only pairs with the allowlist. People who join that way
start at 0 points rather than the default balance, which is what you want when
the allowance comes from codes.
Everything above in reference form is in the
Participants and points guide.