> ## Documentation Index
> Fetch the complete documentation index at: https://itemstores.com/help/llms.txt
> Use this file to discover all available pages before exploring further.
# Run a gift card store
> Give people a balance to spend instead of their own money
A gift card store is one where the people buying spend an allowance you gave
them. Uniform programs, staff swag and reward catalogs all work this way.
Each order paid with gift cards or points carries a redemption fee, billed to
you rather than to the participant. The rates are in
[Licenses and limits](/help/tutorials/licenses-and-limits).
## 1. Decide who can get in
Go to [Stores](https://itemstores.com/app/stores), open the store, and
select **Settings**, then the **Add-ons** tab.
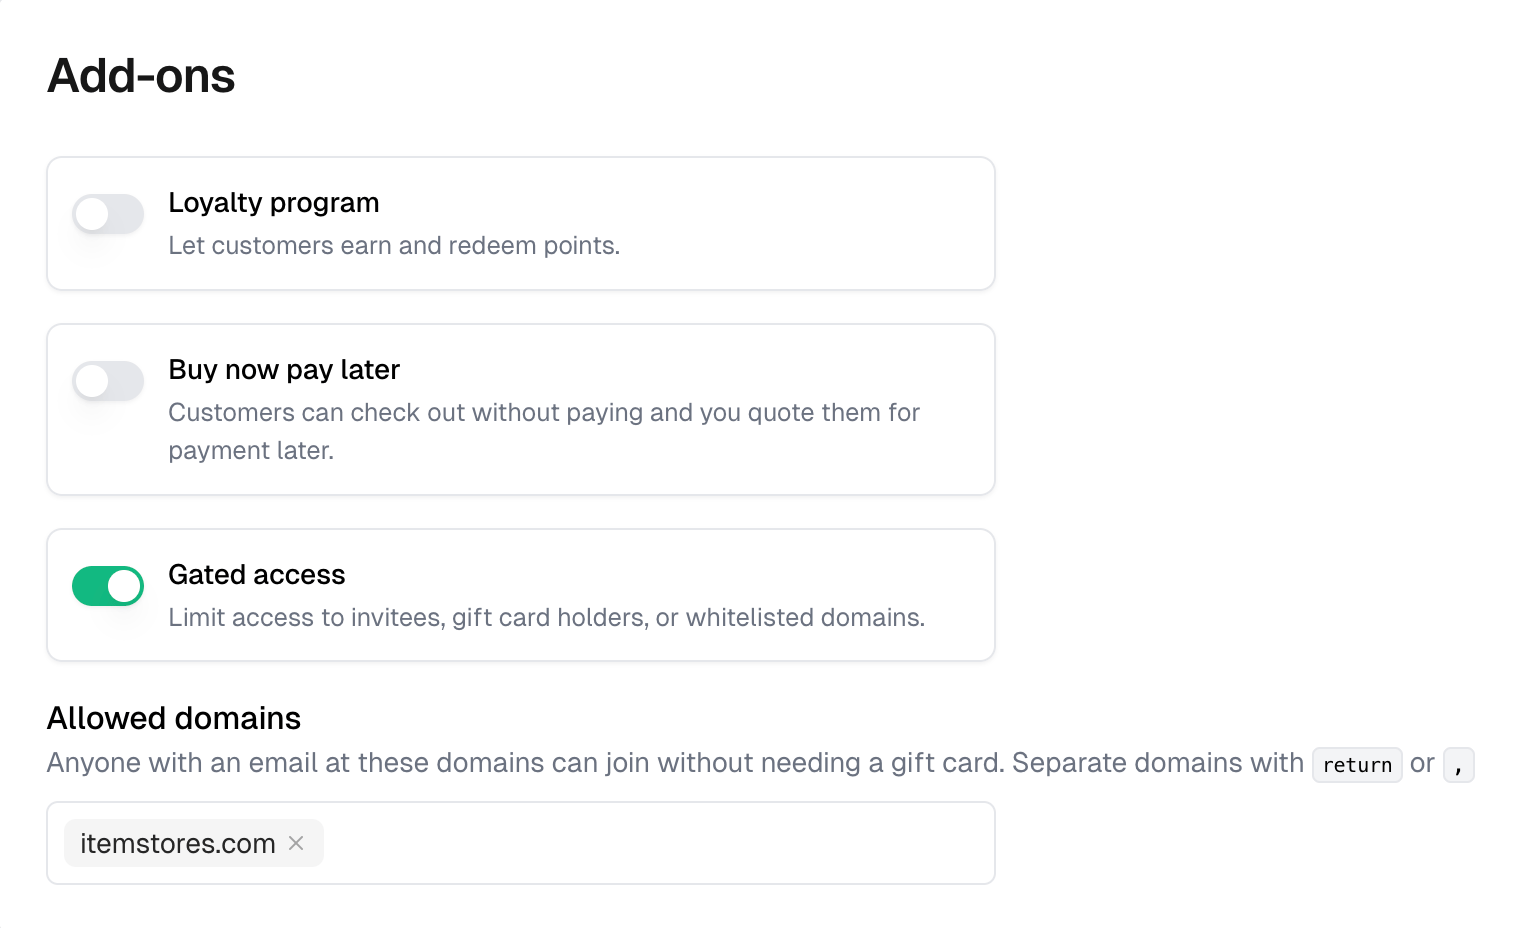
Turn on **Gated access** when the store should not be publicly reachable,
such as a staff store. A gated store lets in invitees and anyone with a gift
card. For a company or school, add the email domains under **Allowed
domains** so people can join themselves.
 An open store works too. Anyone can browse, and only gift card holders have
a balance to spend.
## 2. Hand out the allowance
Open the store's **Gift cards and participants** and select **Create gift
card**. Set the **Amount** each person gets.
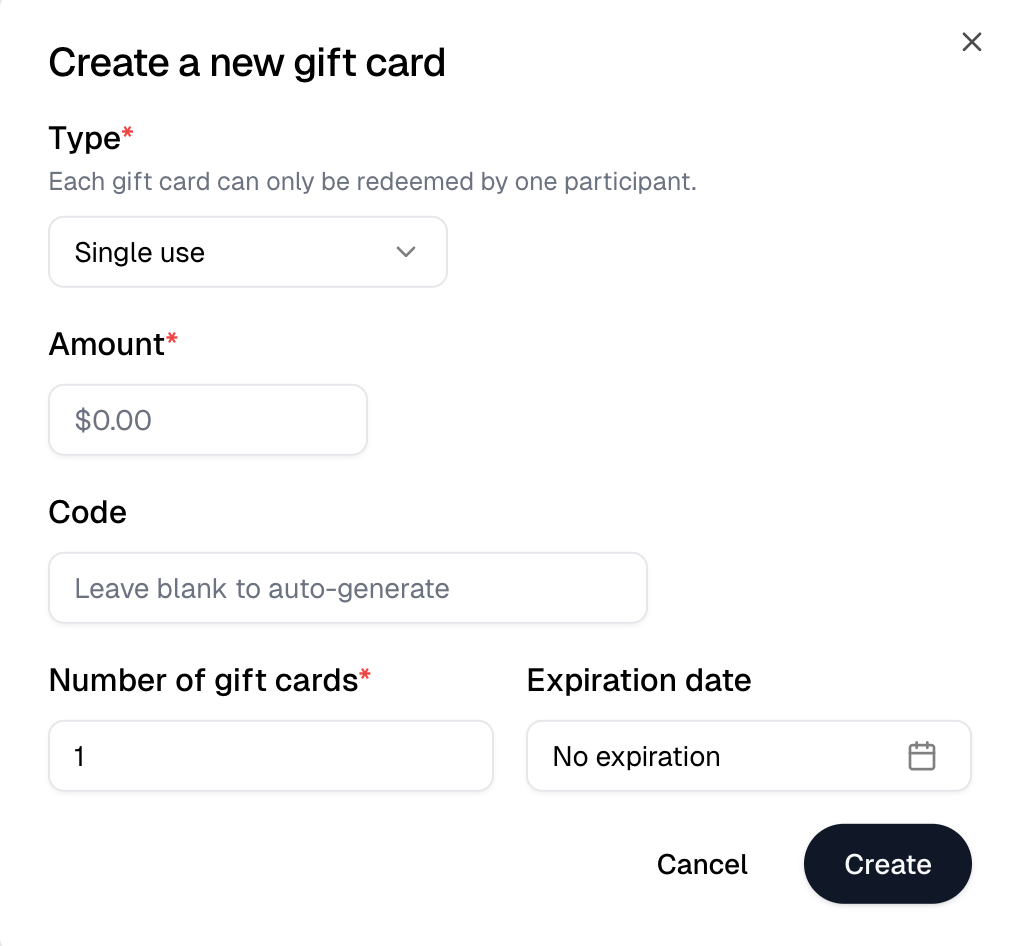
**Single use** gives one card per person, and **Number of gift cards**
creates a batch. Create separate batches to give different people different
amounts.
An open store works too. Anyone can browse, and only gift card holders have
a balance to spend.
## 2. Hand out the allowance
Open the store's **Gift cards and participants** and select **Create gift
card**. Set the **Amount** each person gets.
**Single use** gives one card per person, and **Number of gift cards**
creates a batch. Create separate batches to give different people different
amounts.
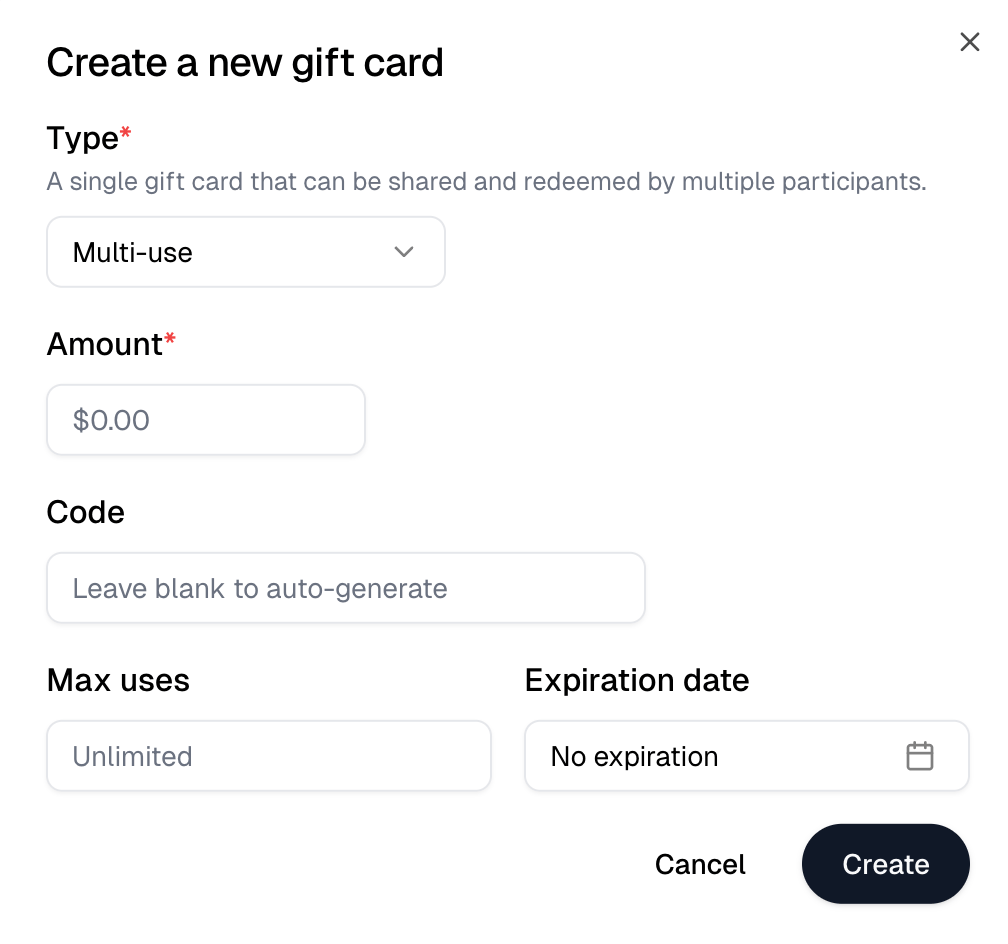
 **Multi-use** is one shared code. Everyone who redeems it gets the full
amount, once each. **Max uses** caps how many people can.
**Multi-use** is one shared code. Everyone who redeems it gets the full
amount, once each. **Max uses** caps how many people can.
 Creating a card sends nothing. Give each code out however you like. Select a
code in the list to copy it.
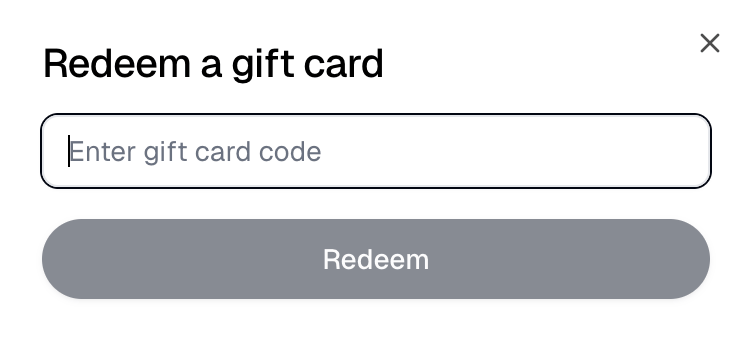
A customer enters it under **Redeem a gift card** in the store's account
menu, or with **Join by email or gift card** on a gated store.
Creating a card sends nothing. Give each code out however you like. Select a
code in the list to copy it.
A customer enters it under **Redeem a gift card** in the store's account
menu, or with **Join by email or gift card** on a gated store.
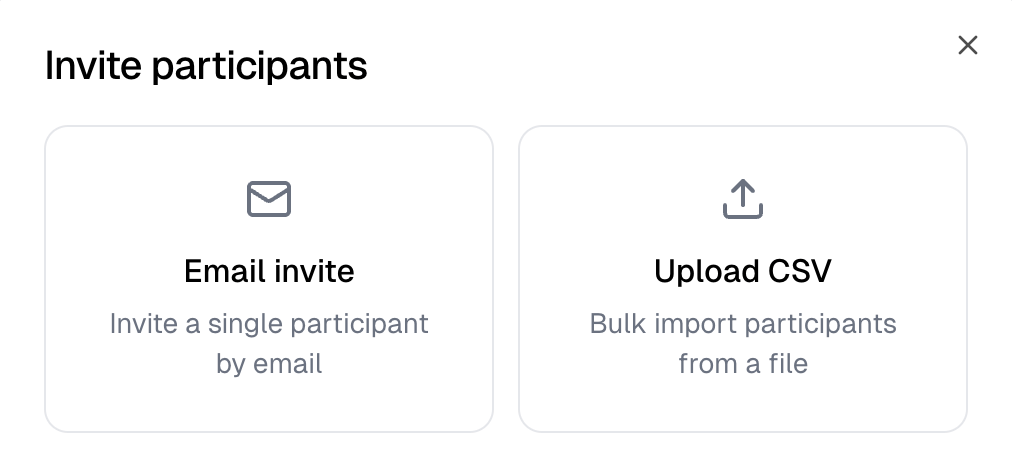
 On the **Participants** tab, **Invite** offers **Email invite** for one
person and **Upload CSV** for a list. A nonzero **Starting balance**, or
`amount` column in the CSV, issues that person a gift card for it. Each
invite emails a sign-in link.
On the **Participants** tab, **Invite** offers **Email invite** for one
person and **Upload CSV** for a list. A nonzero **Starting balance**, or
`amount` column in the CSV, issues that person a gift card for it. Each
invite emails a sign-in link.
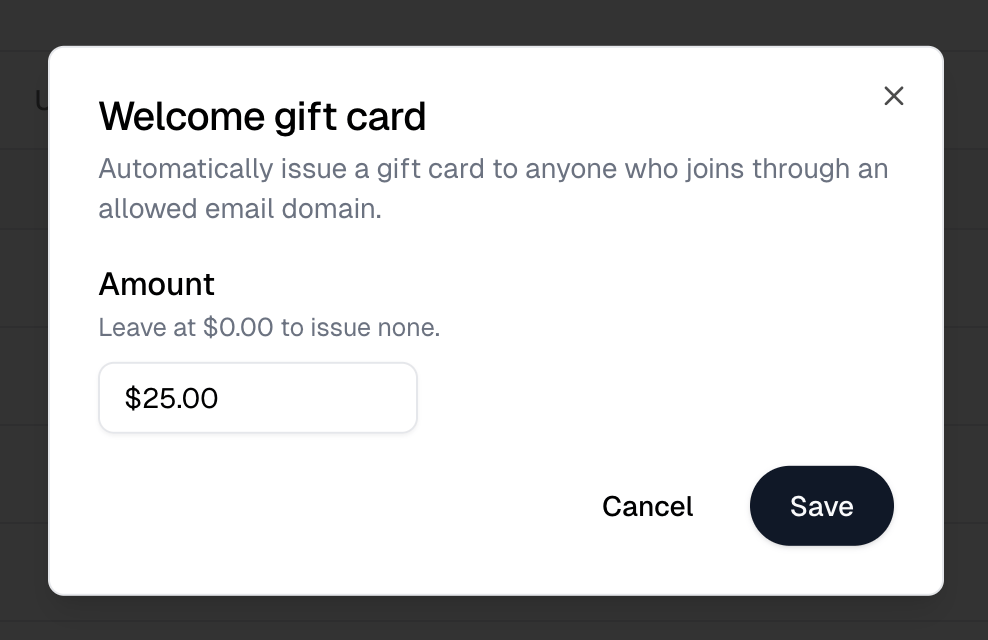
 With allowed domains set, **Welcome gift card** issues a gift card to anyone
who joins through one. Leave it at \$0.00 to issue none.
With allowed domains set, **Welcome gift card** issues a gift card to anyone
who joins through one. Leave it at \$0.00 to issue none.
 ## 3. Let them earn points
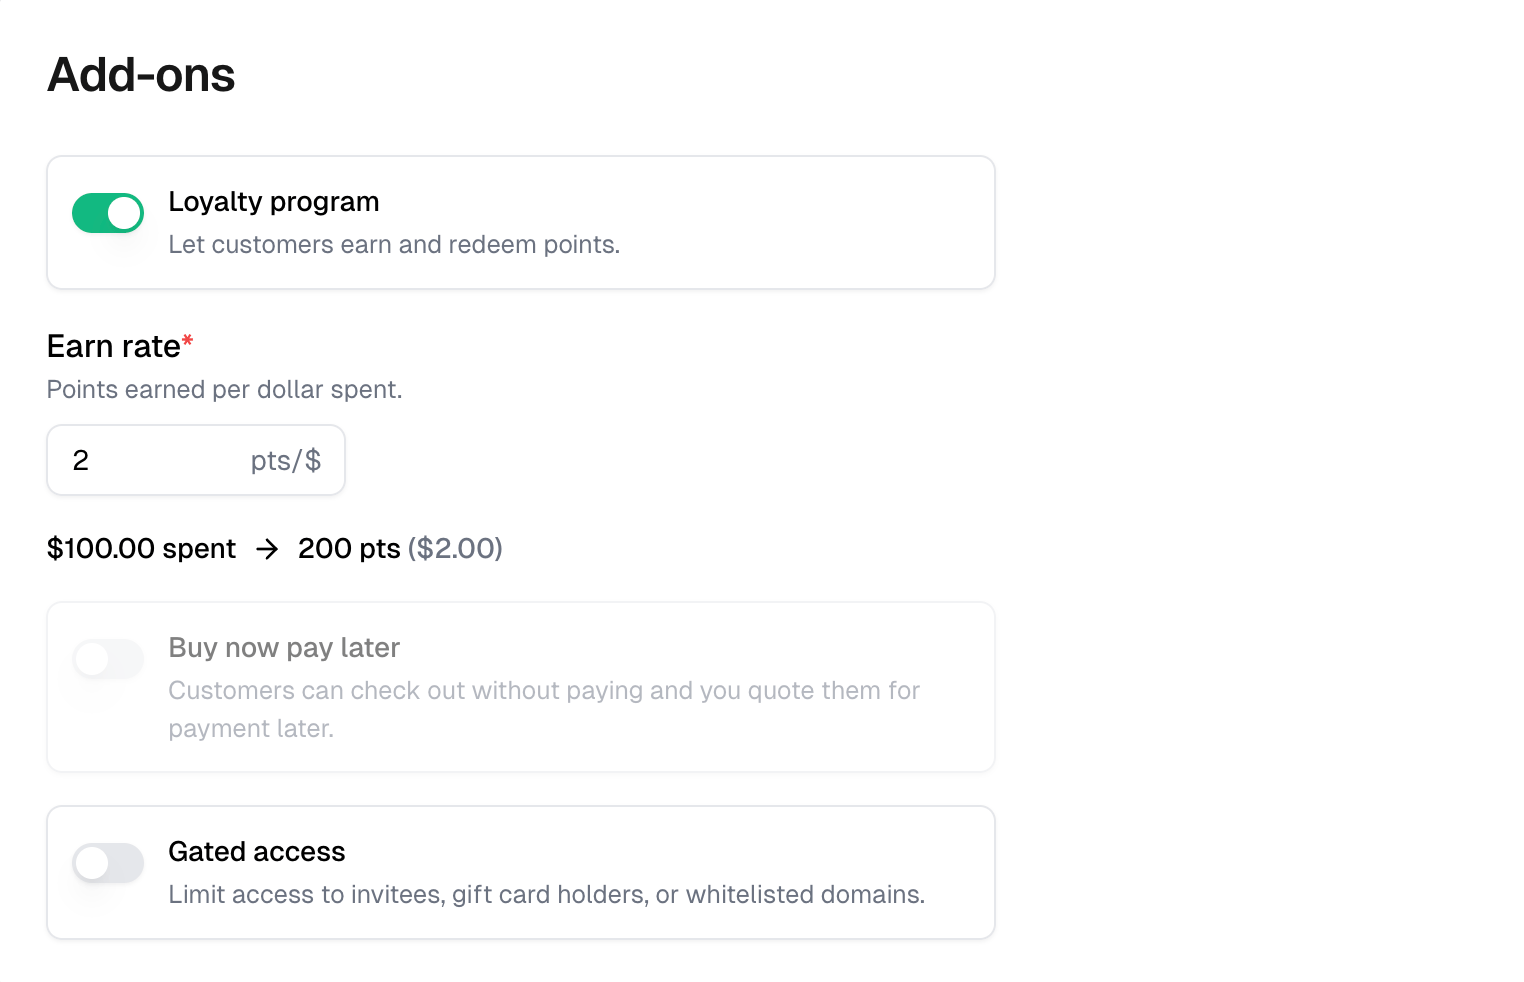
Optional. Turn on **Loyalty program** under **Add-ons** and set an **Earn
rate** in points per dollar. 1 point is worth 1 cent. A store runs either the
loyalty program or **Buy now pay later**, not both.
## 3. Let them earn points
Optional. Turn on **Loyalty program** under **Add-ons** and set an **Earn
rate** in points per dollar. 1 point is worth 1 cent. A store runs either the
loyalty program or **Buy now pay later**, not both.
 ## What participants see
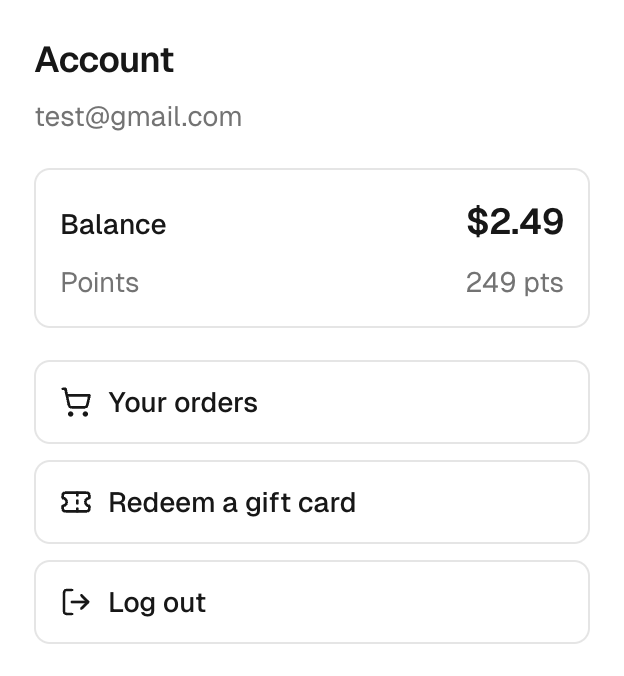
A participant's **Balance** is their gift card funds plus their points. It
shows in the store's account menu and is applied at checkout automatically,
points first.
## What participants see
A participant's **Balance** is their gift card funds plus their points. It
shows in the store's account menu and is applied at checkout automatically,
points first.
 ## Keeping track
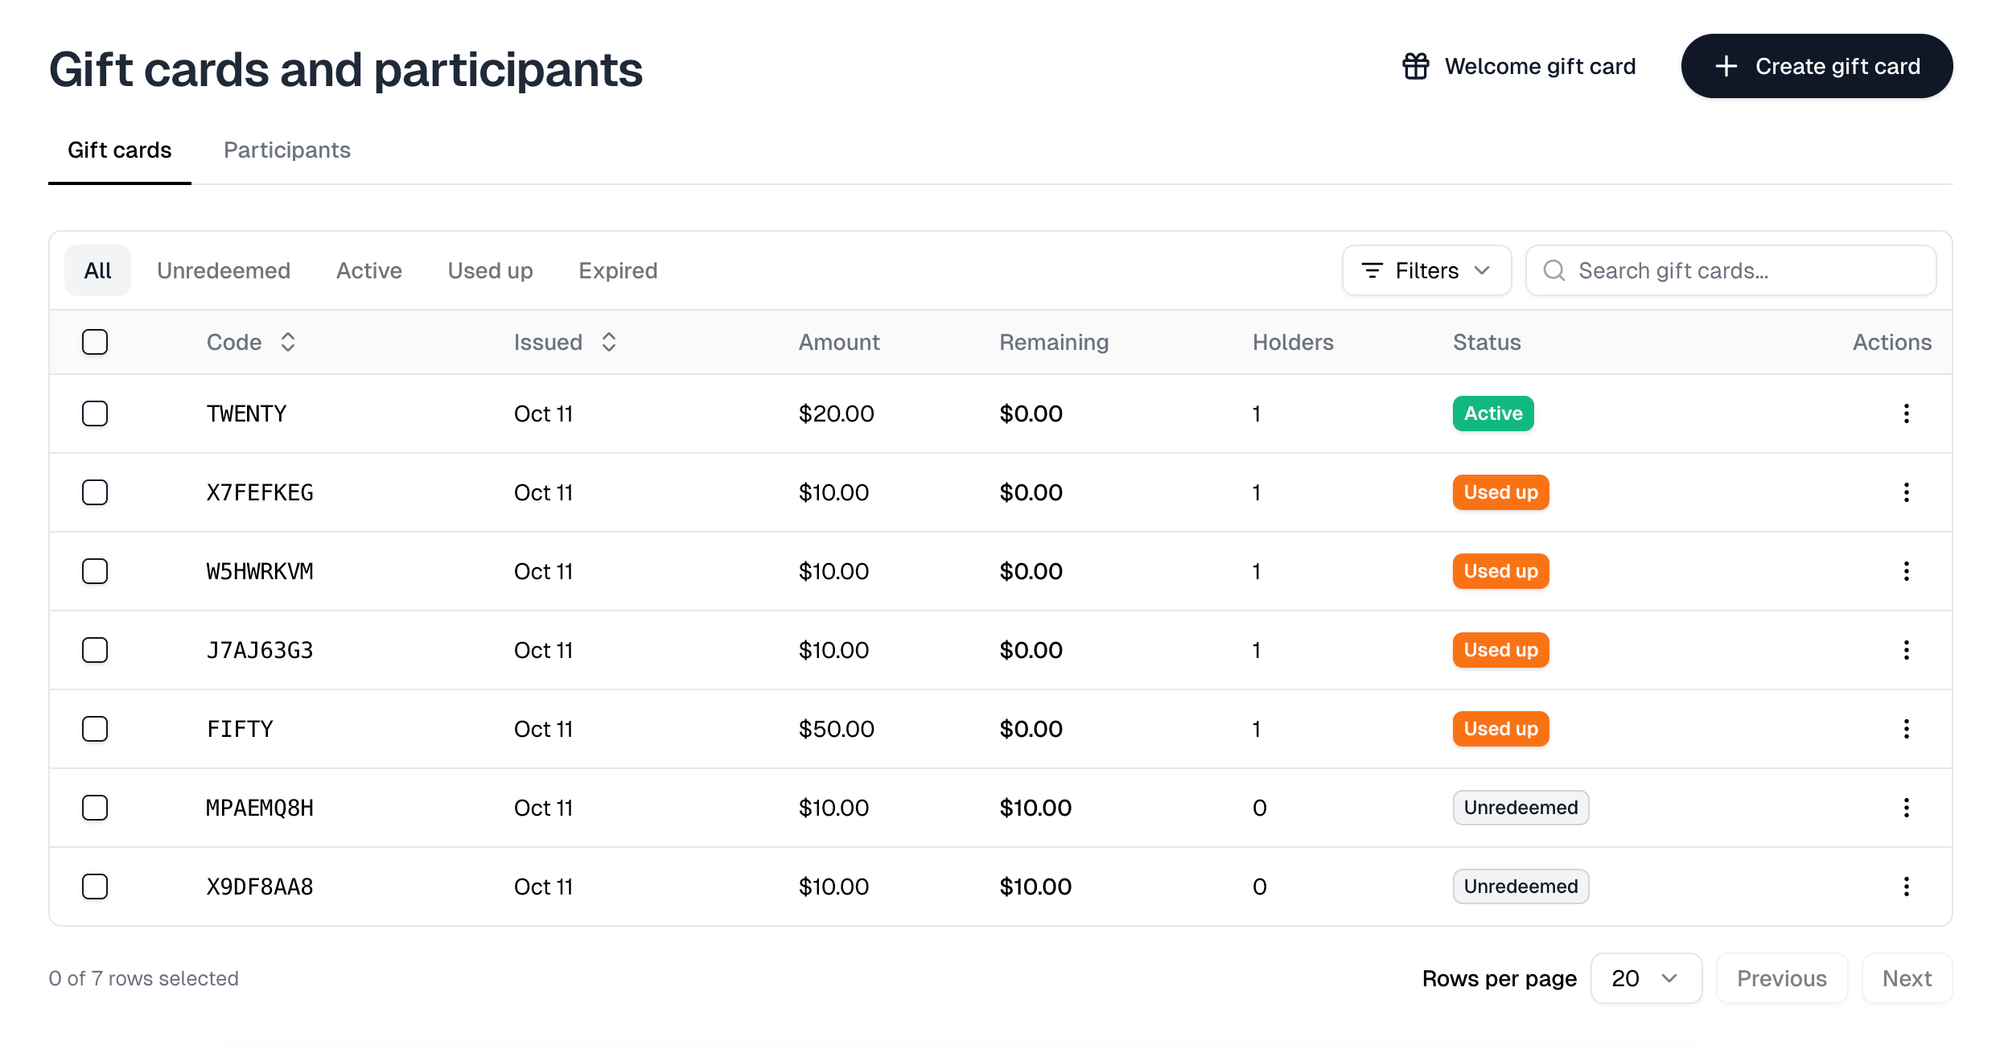
The **Gift cards** tab shows each card's status, what remains on it, and how
many people hold it. The **Participants** tab shows each person's points, gift
card funds and Balance.
## Keeping track
The **Gift cards** tab shows each card's status, what remains on it, and how
many people hold it. The **Participants** tab shows each person's points, gift
card funds and Balance.
 Everything above in reference form is in
[Gift cards and participants](/help/knowledge-base/stores/participants).
This documentation is built and hosted on [Mintlify](https://mintlify.com), a developer documentation platform.
Everything above in reference form is in
[Gift cards and participants](/help/knowledge-base/stores/participants).
This documentation is built and hosted on [Mintlify](https://mintlify.com), a developer documentation platform.