> ## Documentation Index
> Fetch the complete documentation index at: https://itemstores.com/help/llms.txt
> Use this file to discover all available pages before exploring further.
# Fulfilling orders
> Purchase order, work order, shipping label
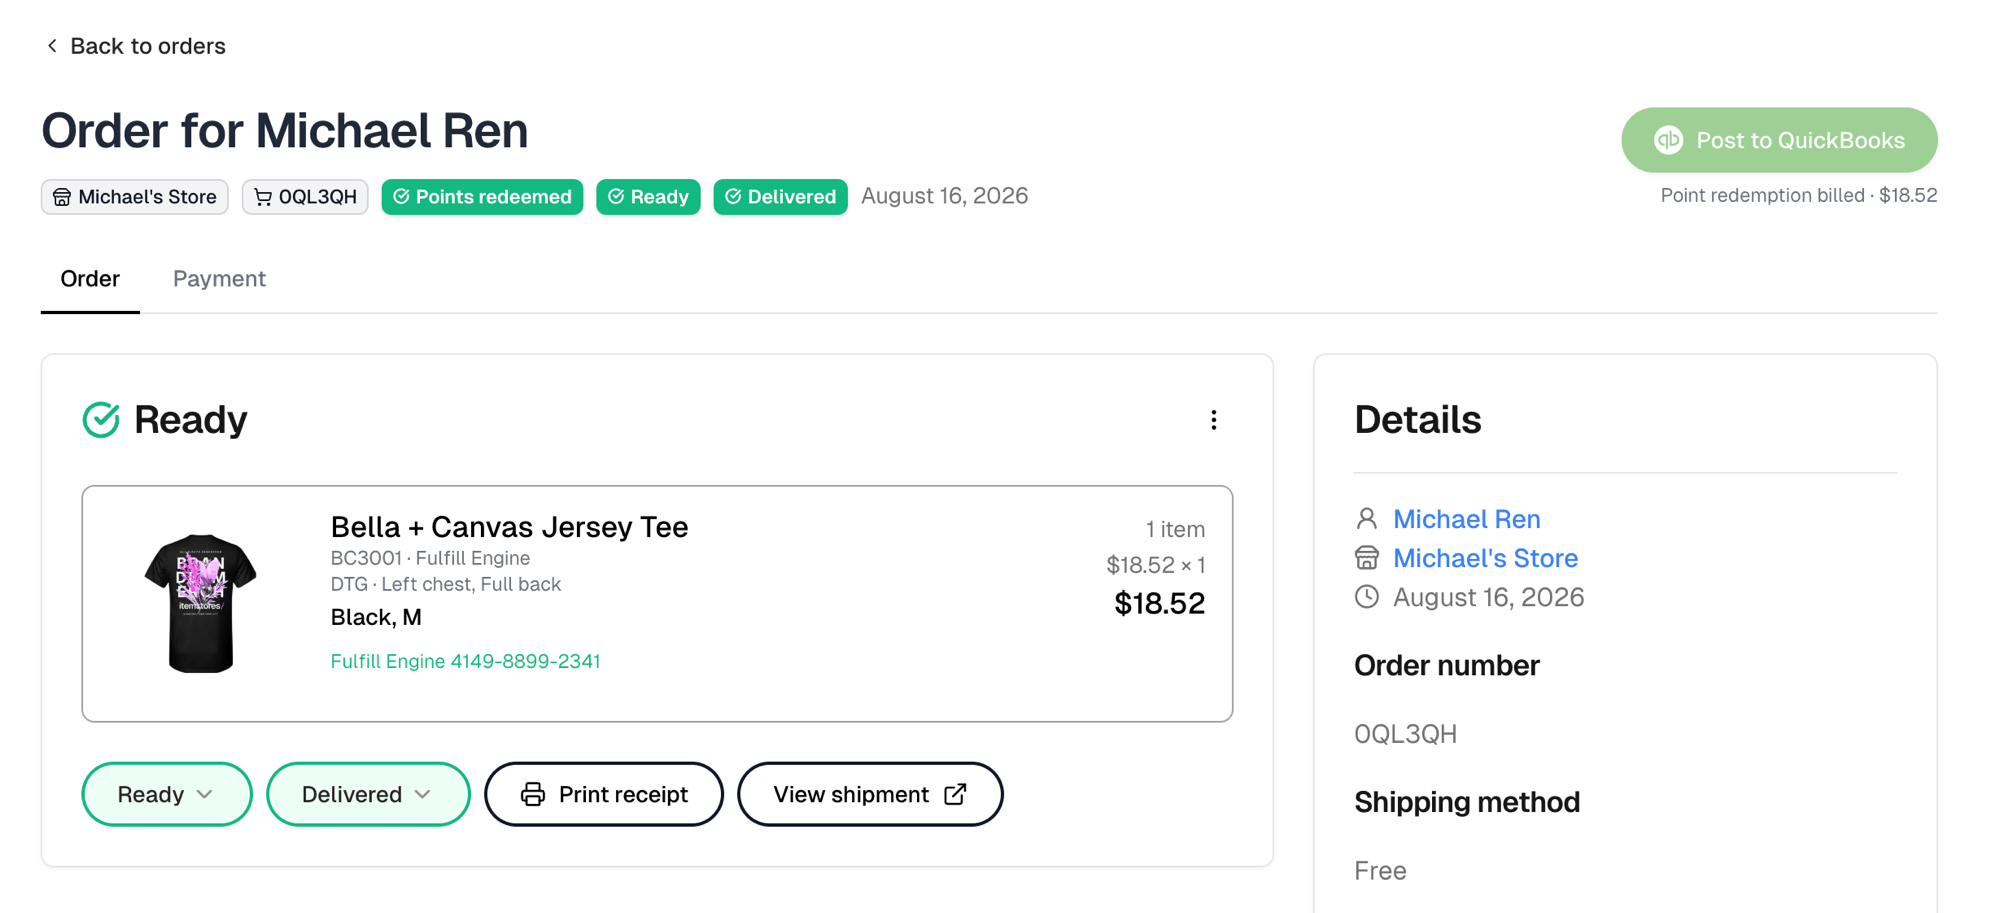
An order arrives when a customer checks out of a store, or pays a quote.
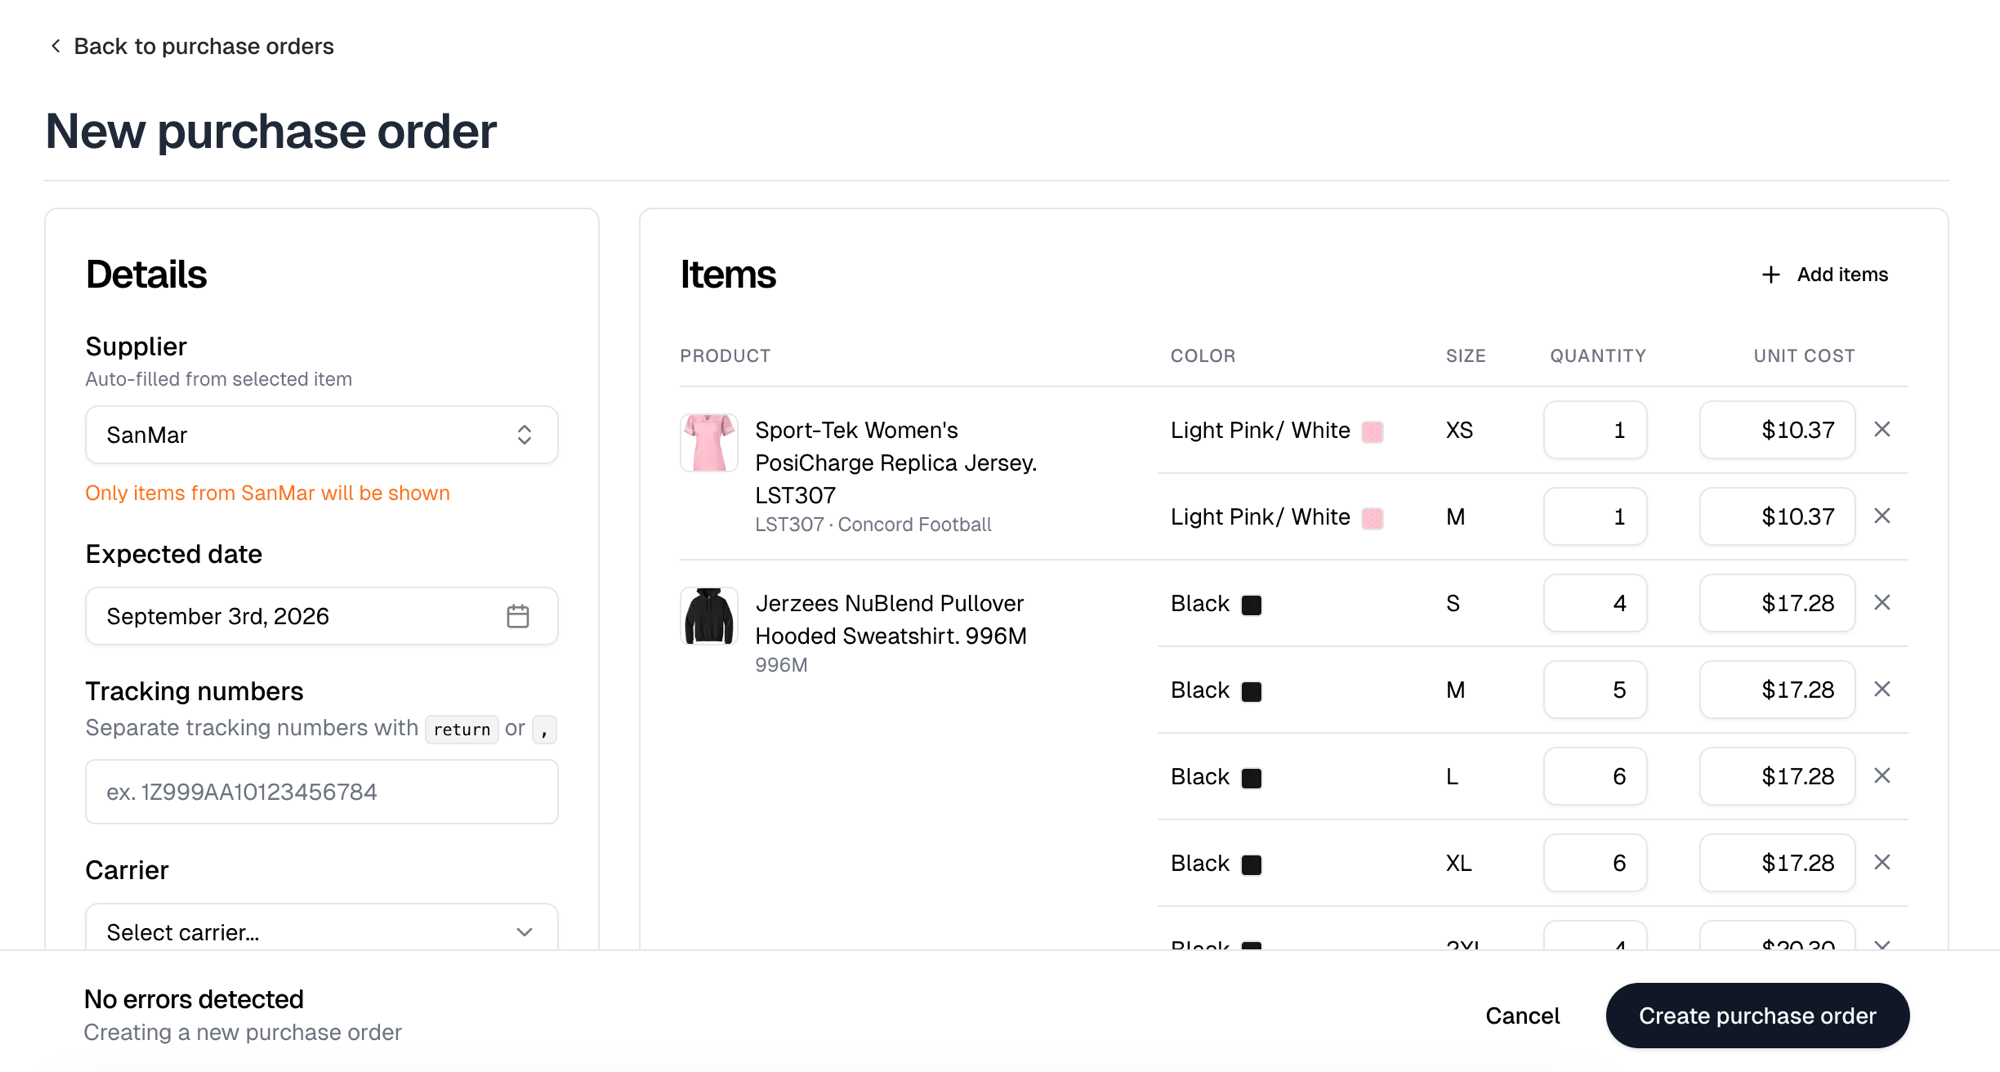
 Go to [Purchase orders](https://itemstores.com/app/purchase-orders) and
select **New purchase order**. **Add items** in the Items panel picks the
blanks and stock you need.
Supplier is filled in from the first item you add, and only that supplier's
items can be added afterwards.
Go to [Purchase orders](https://itemstores.com/app/purchase-orders) and
select **New purchase order**. **Add items** in the Items panel picks the
blanks and stock you need.
Supplier is filled in from the first item you add, and only that supplier's
items can be added afterwards.
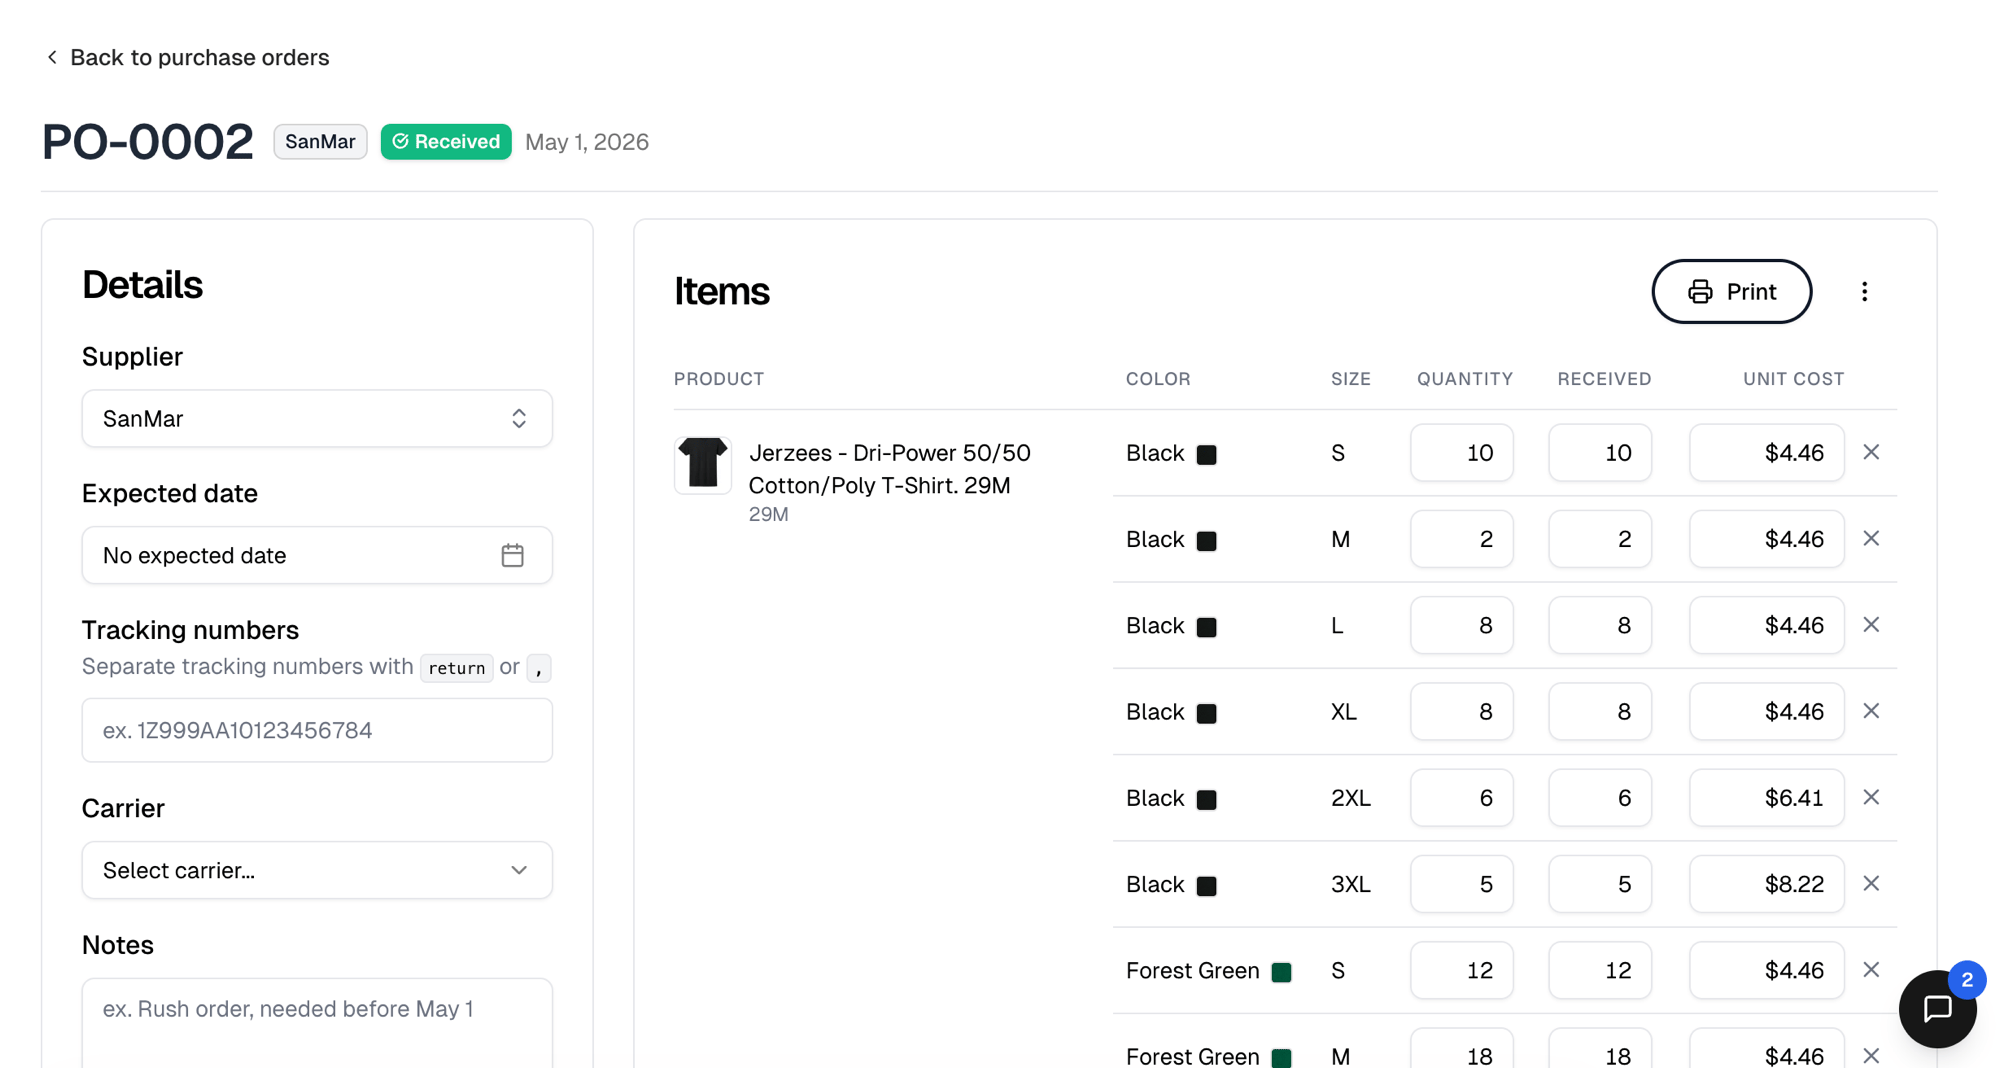
 When it arrives, open the purchase order and enter what actually came in
the **Received** column, per line. Less than you ordered is how a partial
delivery is recorded. More than the ordered quantity is rejected. If the
whole order arrived, **Mark received** fills in every remaining line at
once.
When it arrives, open the purchase order and enter what actually came in
the **Received** column, per line. Less than you ordered is how a partial
delivery is recorded. More than the ordered quantity is rejected. If the
whole order arrived, **Mark received** fills in every remaining line at
once.
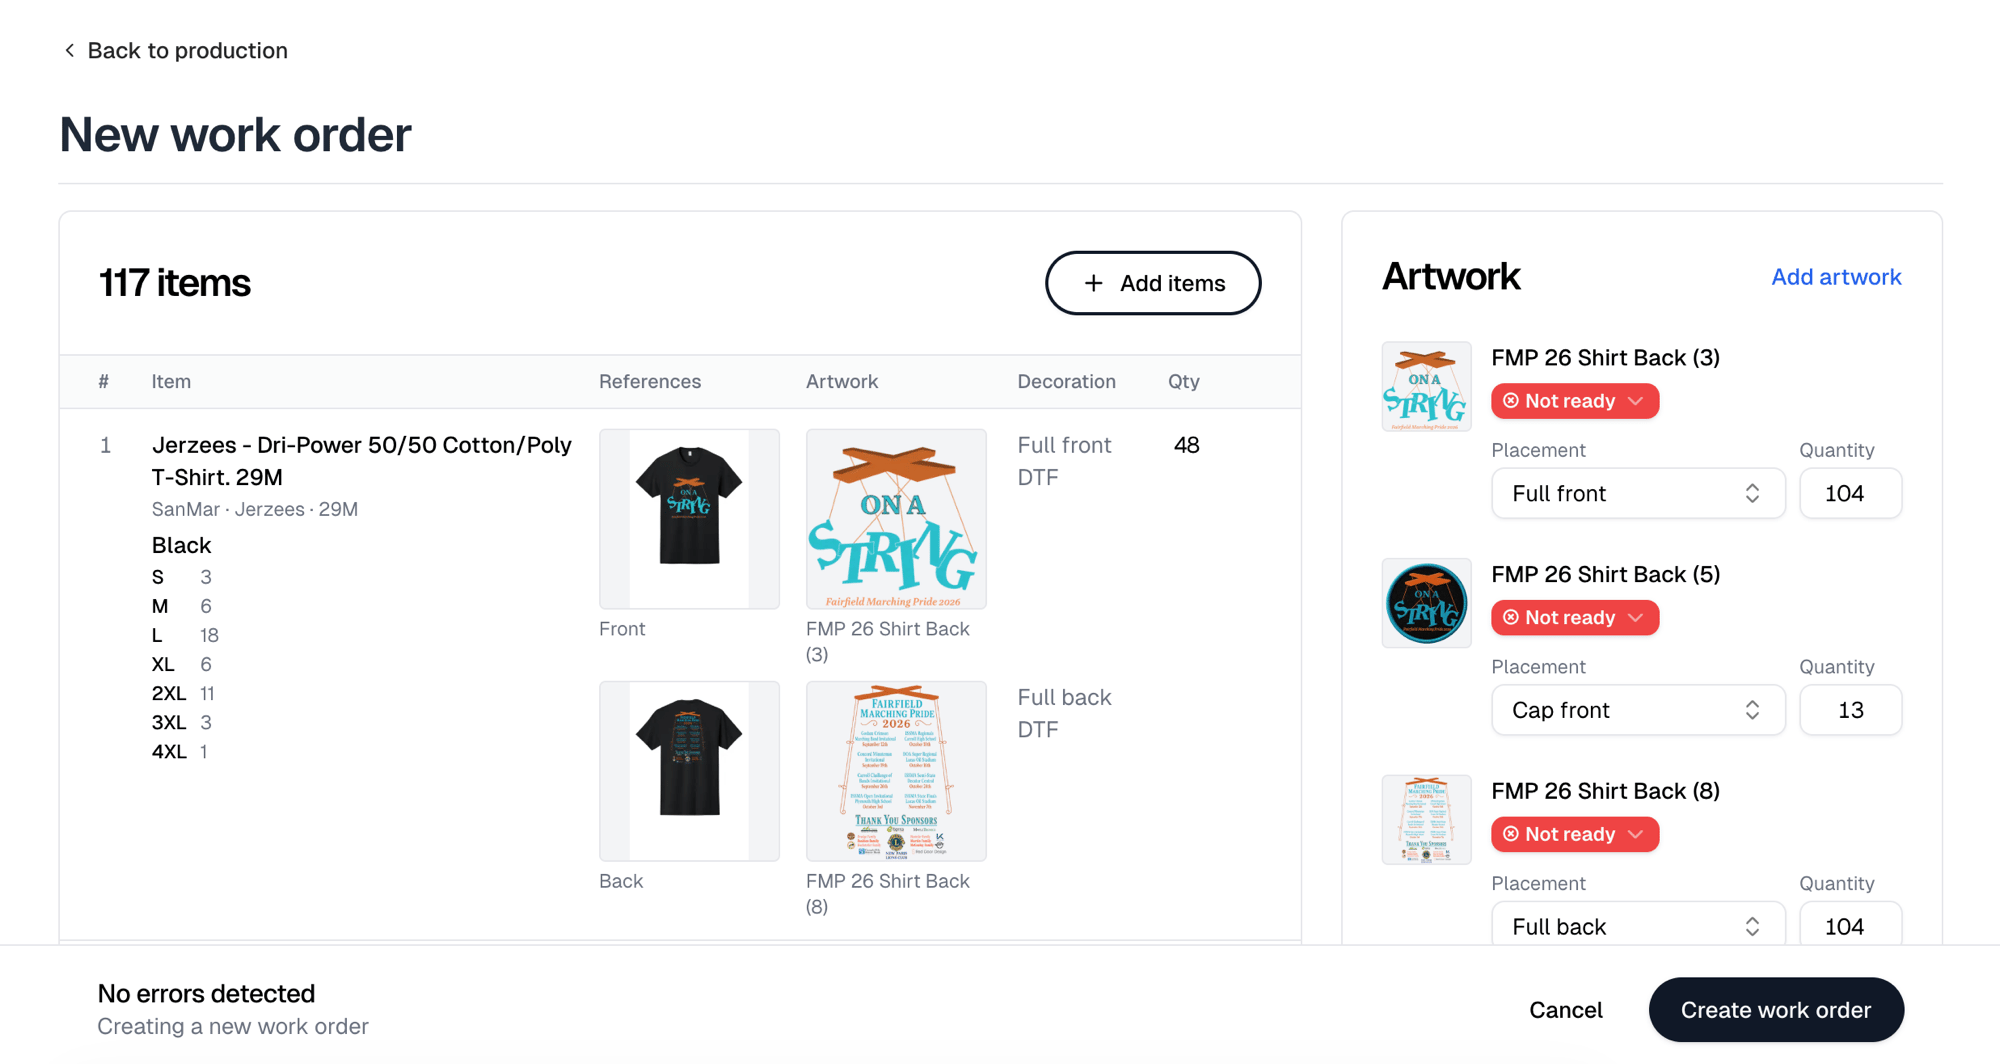
 Go to [Production](https://itemstores.com/app/production) and select
**New work order**. **Add items** picks what to produce, and
**Create work order** stays disabled until at least one item is on it.
Items carry their mockup, artwork, placement and decoration method, so the
work order is what production actually prints from.
Go to [Production](https://itemstores.com/app/production) and select
**New work order**. **Add items** picks what to produce, and
**Create work order** stays disabled until at least one item is on it.
Items carry their mockup, artwork, placement and decoration method, so the
work order is what production actually prints from.
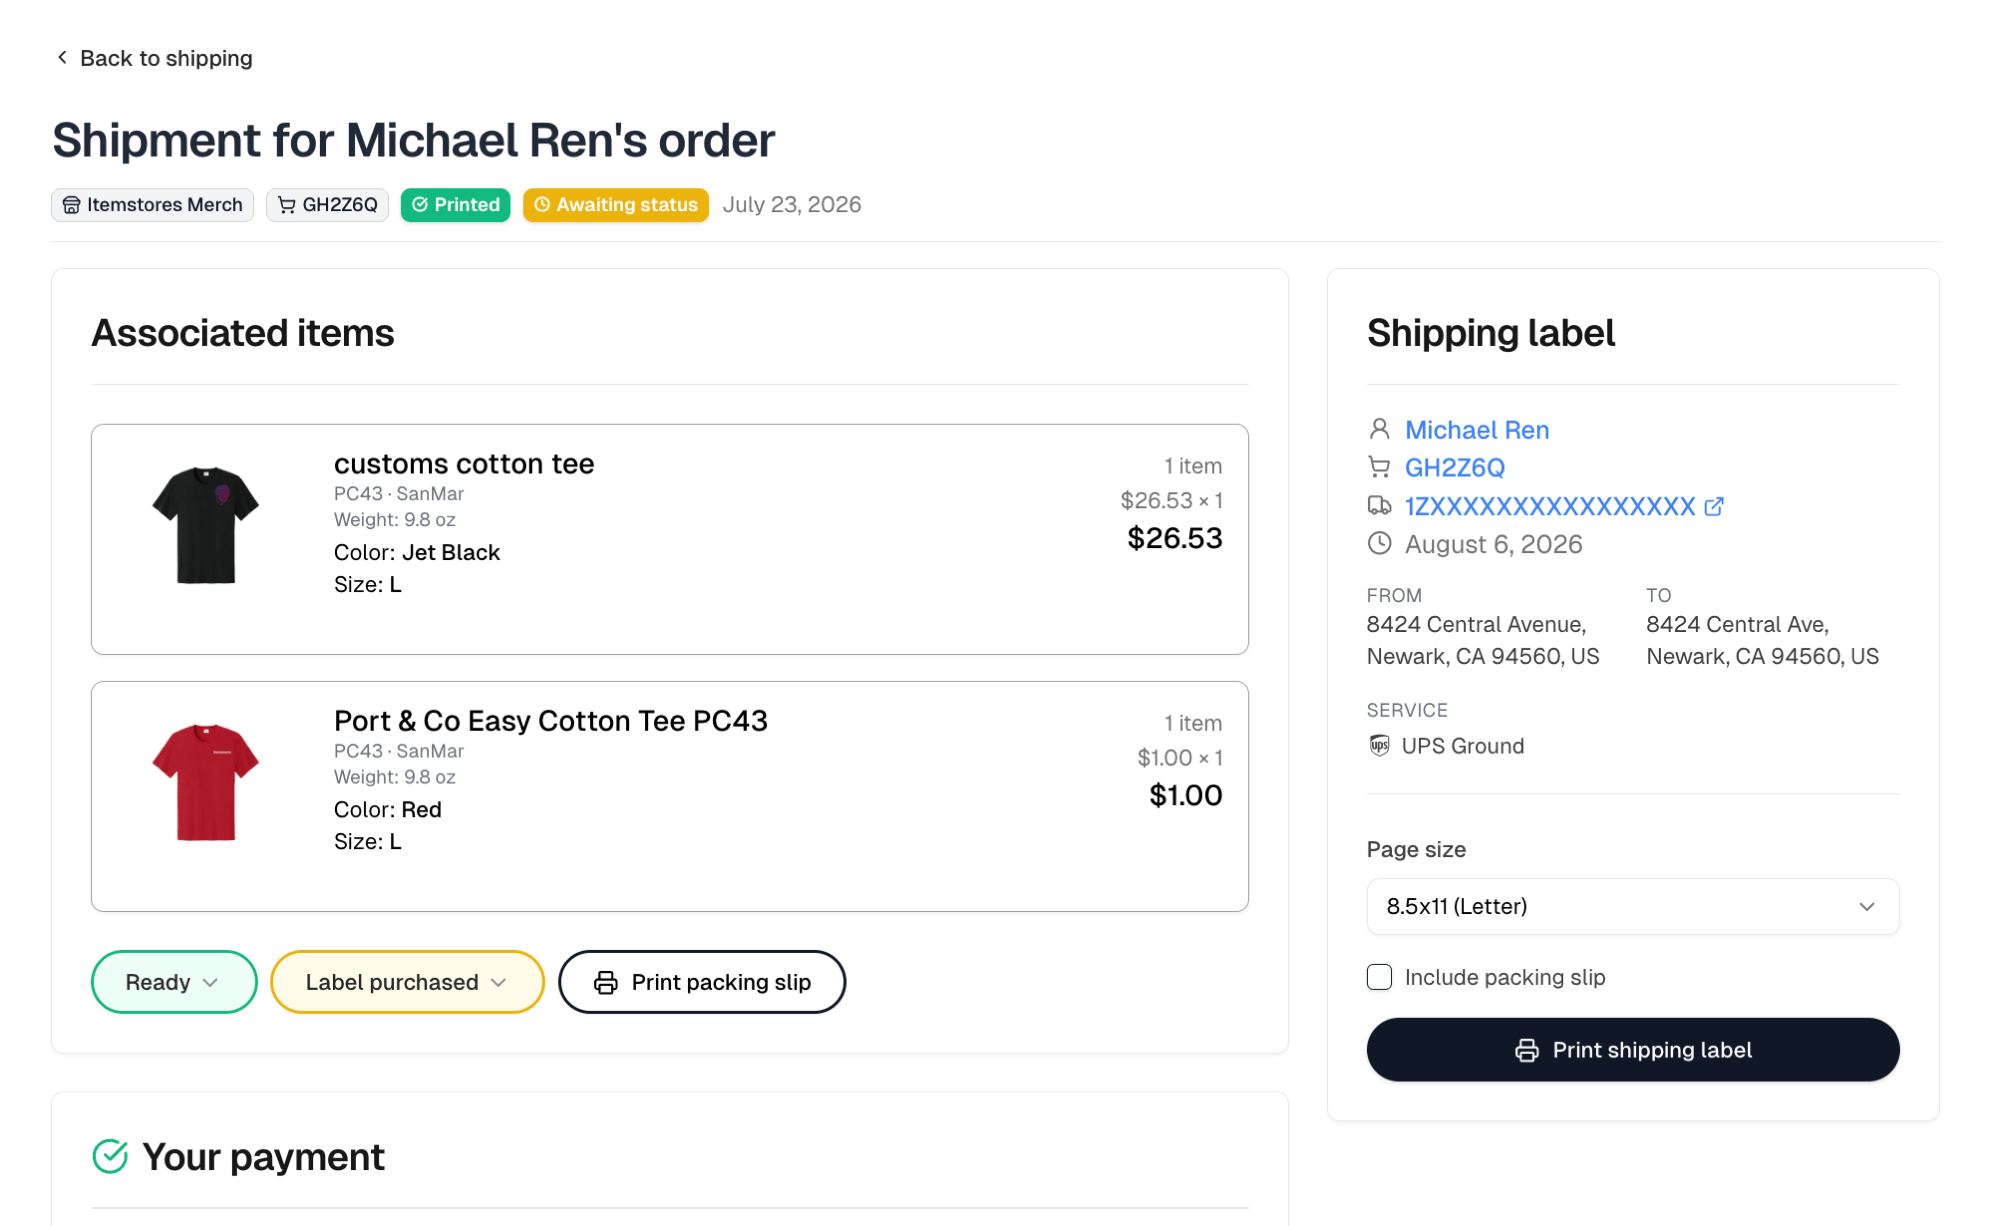
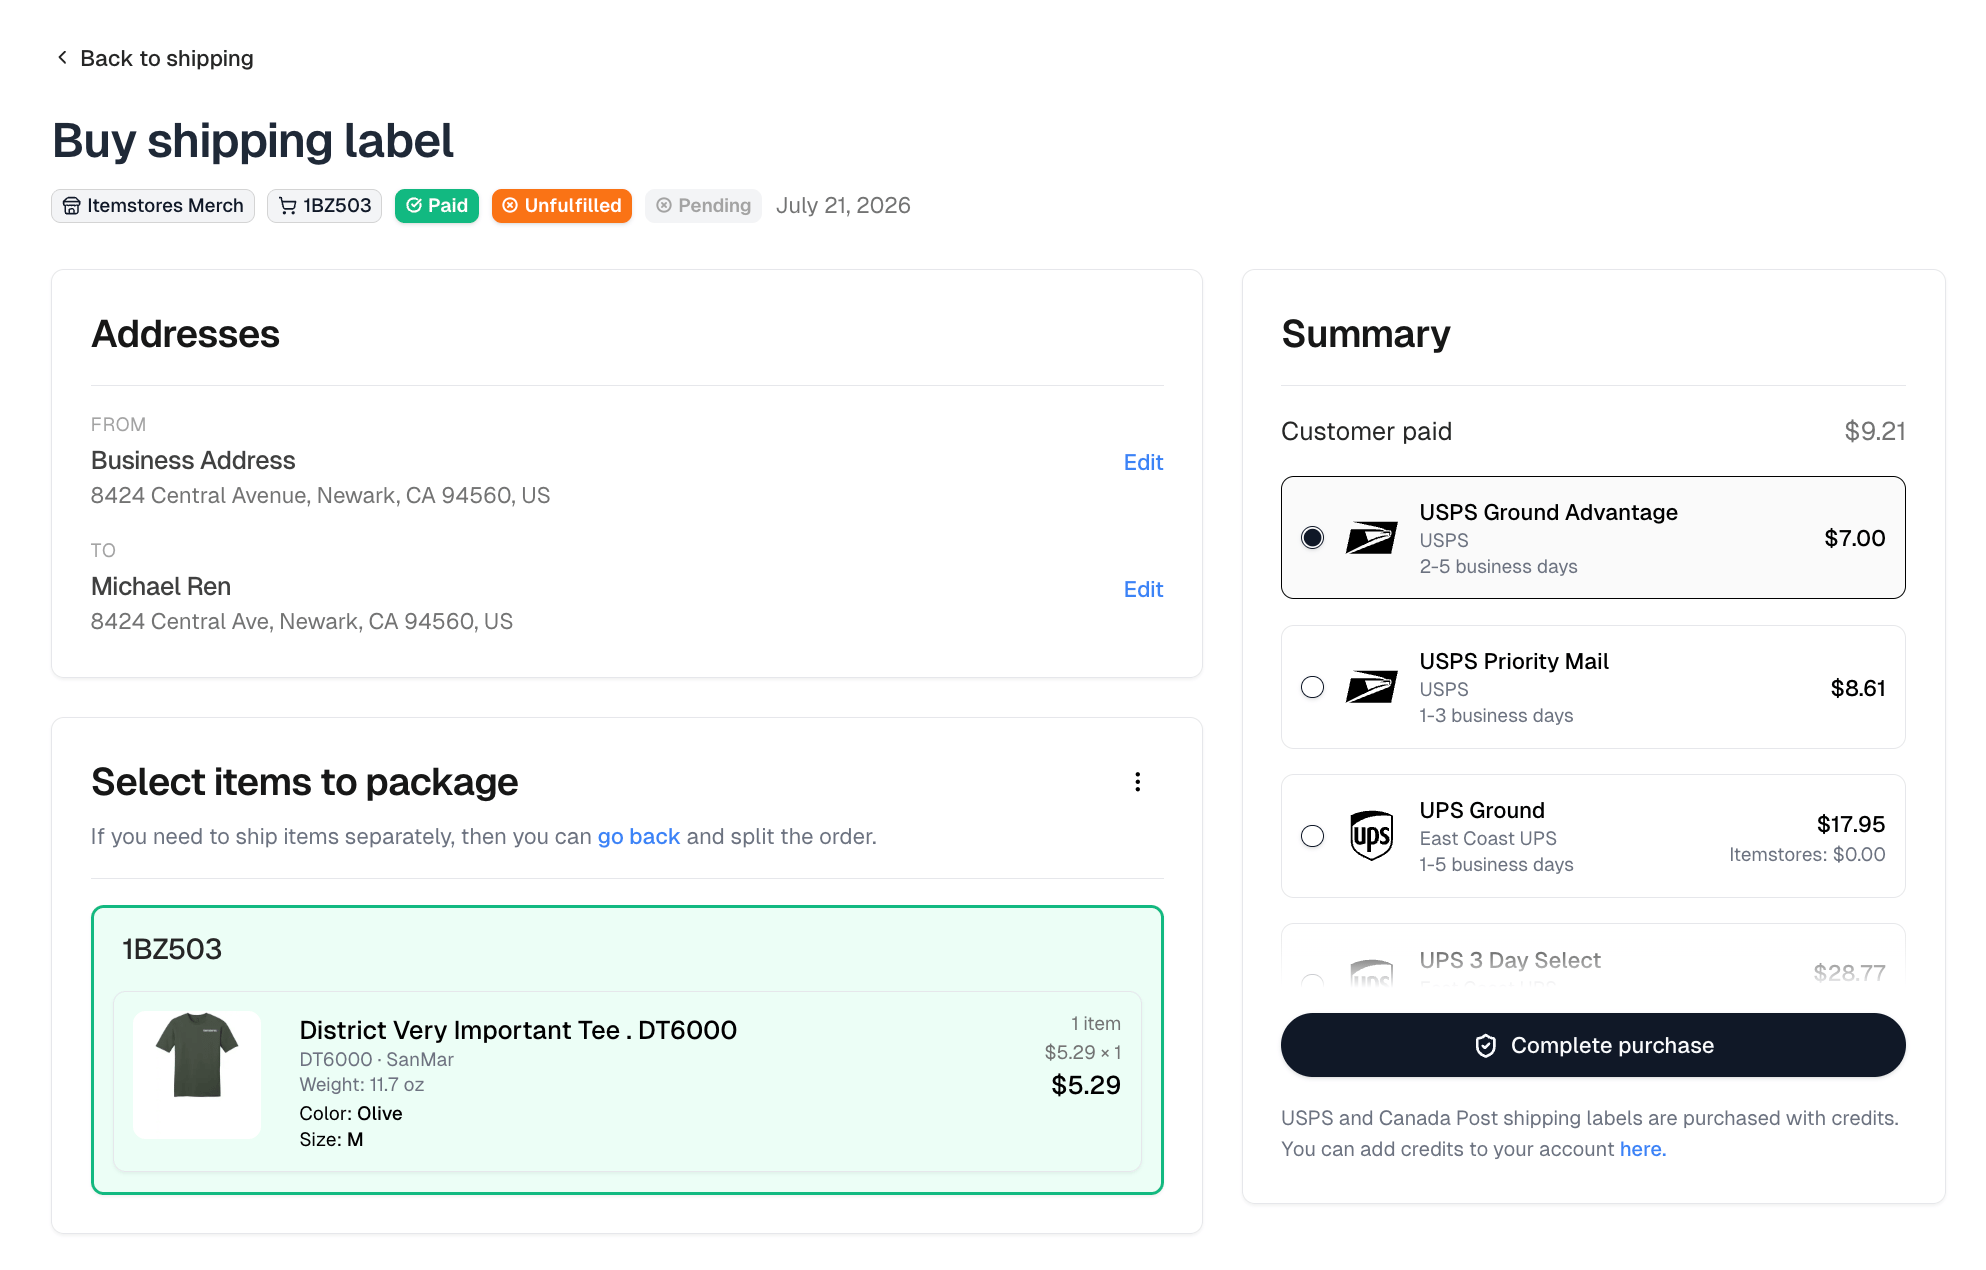
 Go to [Shipping](https://itemstores.com/app/shipping) and select
**New shipping label**. Pick the orders in **Select orders to ship**, then
**Continue** to open Buy shipping label, where you choose a rate and buy it.
You need a carrier added in
[Settings › Shipping](https://itemstores.com/app/settings/shipping) first, and a
shipping origin address on the store or on your business.
USPS and Canada Post labels are paid for with Itemstores credits; UPS bills
your own account.
Go to [Shipping](https://itemstores.com/app/shipping) and select
**New shipping label**. Pick the orders in **Select orders to ship**, then
**Continue** to open Buy shipping label, where you choose a rate and buy it.
You need a carrier added in
[Settings › Shipping](https://itemstores.com/app/settings/shipping) first, and a
shipping origin address on the store or on your business.
USPS and Canada Post labels are paid for with Itemstores credits; UPS bills
your own account.
 ## Tracking
When you buy a label through Itemstores, tracking updates on its own as the
carrier scans the parcel, so there is nothing to enter. If you ship outside
Itemstores, open the order and use **Add tracking number** in the shipment's
more actions menu.
Each step above has its own guide: [Purchase orders](/help/knowledge-base/purchase-orders),
[Production](/help/knowledge-base/production) and [Shipping](/help/knowledge-base/shipping).
## Tracking
When you buy a label through Itemstores, tracking updates on its own as the
carrier scans the parcel, so there is nothing to enter. If you ship outside
Itemstores, open the order and use **Add tracking number** in the shipment's
more actions menu.
Each step above has its own guide: [Purchase orders](/help/knowledge-base/purchase-orders),
[Production](/help/knowledge-base/production) and [Shipping](/help/knowledge-base/shipping).