> ## Documentation Index
> Fetch the complete documentation index at: https://itemstores.com/help/llms.txt
> Use this file to discover all available pages before exploring further.
# Apply to products
> Put one artwork onto many products at once
**Apply to products** is a panel on an artwork's own page. Reach it from the
button of that name on the [artwork](/help/knowledge-base/artwork) list, or by opening
an artwork and scrolling to it.
This applies one design. For several designs or logos on the same blank, the
panel links you to the
[decoration tool](/help/knowledge-base/blanks/decorate) instead.
## Choosing products
Two tabs:
| Tab | What it lists |
| ------------------ | -------------------------------------------------------- |
| Blanks | Undecorated blanks, to create decorated products from |
| Decorated products | Products that already carry artwork, filterable by store |
Switching tabs clears whatever you had selected.
Select the products you want, then set a placement for each. Selecting one shows
its placement options and previews the result, flat and on model.
**Import collection** pulls in a whole collection of blanks instead of picking
them one by one. It appears only once you have a collection, and a collection's
placements cannot be edited here.
On the Decorated products tab, a placement that already holds a different artwork
is marked. Applying **replaces** the artwork already at that placement, and the
screen names what it will overwrite.
 ## Colors
**Product colors** controls which colors get decorated. It is on the **Blanks**
tab only, because that tab copies the blank and this narrows what the copy
carries. A decorated product keeps every color it already has.
The link beside it reads **Disable all** while every color is on and **Enable
all** once any is off. **Disable all** leaves one color on rather than none.
A blank carrying none of the enabled colors is skipped entirely.
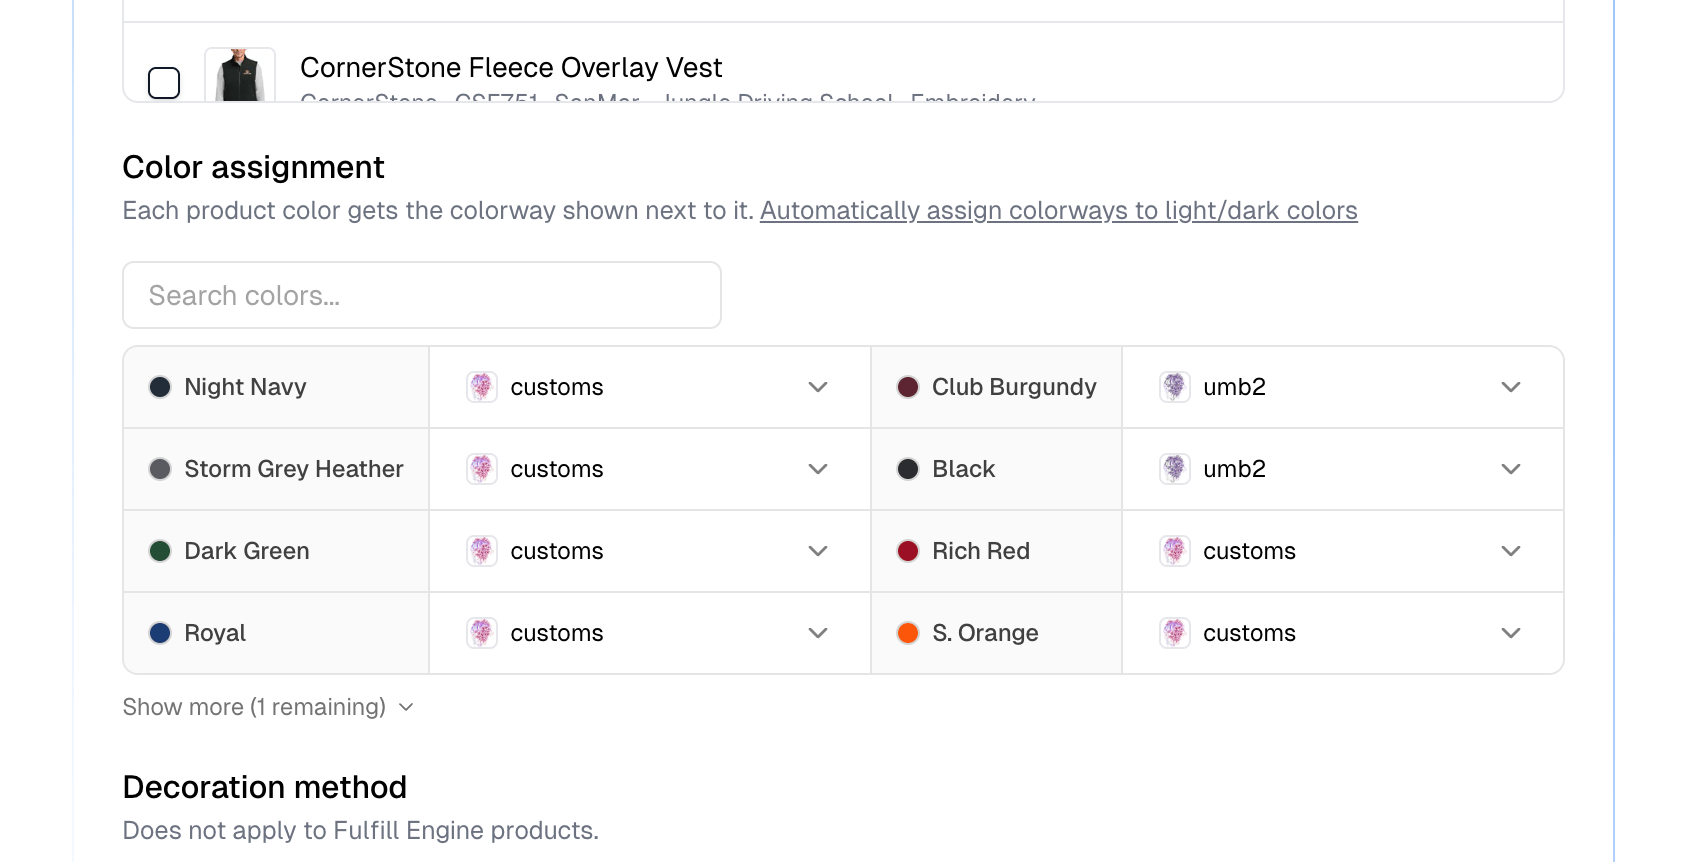
**Color assignment** then gives each product color its colorway. It appears only
when the artwork has more than one colorway.
**Automatically assign colorways to light/dark colors** does the pairing for
you, and any row can be overridden.
## Colors
**Product colors** controls which colors get decorated. It is on the **Blanks**
tab only, because that tab copies the blank and this narrows what the copy
carries. A decorated product keeps every color it already has.
The link beside it reads **Disable all** while every color is on and **Enable
all** once any is off. **Disable all** leaves one color on rather than none.
A blank carrying none of the enabled colors is skipped entirely.
**Color assignment** then gives each product color its colorway. It appears only
when the artwork has more than one colorway.
**Automatically assign colorways to light/dark colors** does the pairing for
you, and any row can be overridden.
 ## Where it lands
**Destination store** puts the resulting products straight into a store, or leave
it on **None**. It sits on the **Blanks** tab only.
**Decoration method** defaults to **Use each product's default**, so you only
change it when this artwork is applied differently from the product's usual
method. It has no effect on Fulfill Engine products, which carry their own.
The button at the bottom reads **Apply to 4 products**, counting what it will
affect, and creates them.
## Where it lands
**Destination store** puts the resulting products straight into a store, or leave
it on **None**. It sits on the **Blanks** tab only.
**Decoration method** defaults to **Use each product's default**, so you only
change it when this artwork is applied differently from the product's usual
method. It has no effect on Fulfill Engine products, which carry their own.
The button at the bottom reads **Apply to 4 products**, counting what it will
affect, and creates them.